
Cooking Know-How: Making Gravy – Simple Tips for Success
The holiday season is the time of year when the thought of making gravy makes the bravest cooks afraid as they think about preparing traditional meals for family and friends. Making gravy was always Mom’s job, and we did not have to worry about it, right?
 by
Cindy
by
Cindy
by
Cindy
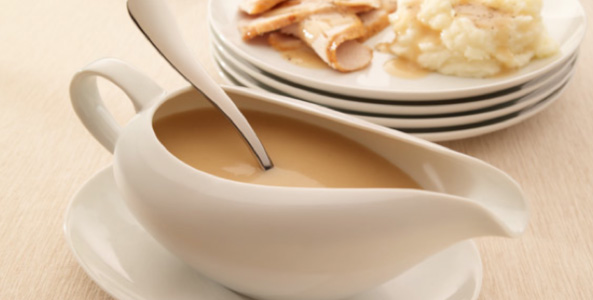
The holiday season is the time of year when the thought of making gravy makes the bravest cooks afraid as they think about preparing traditional meals for family and friends. Making gravy was always Mom’s job, and we did not have to worry about it, right? But what happens when Mom is not available? We know using the purchased gravies just doesn’t measure up to the real thing – homemade turkey gravy.
Let me assure you, the process of making gravy really isn’t hard. You just have to focus on the task and not let anything distract you while making it.
Successful gravy is one that is smooth and silky, not lumpy, and it doesn’t have the flavor of uncooked flour. There are a number of ways to make gravy, but I want to focus on what I consider a foolproof method. Click here for a basic Turkey Gravy.
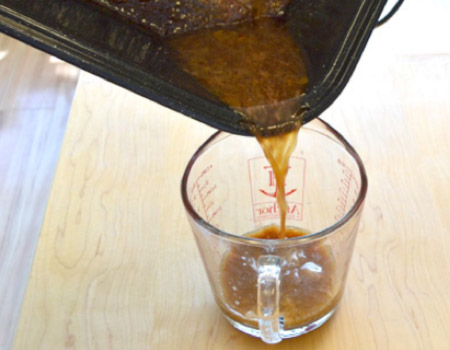
Tip #1 – Remove excess fat
After a turkey is roasted, the amount of remaining fat in the roasting pan may vary. Remove the turkey from the roasting pan. Pour leftover juices into a measuring cup, and reserve 3 tablespoons of fat and then discard the rest. Too much fat in the gravy makes the gravy greasy, and though fat adds flavor, it will not make for a smooth gravy texture.
Tip #2 – Deglazing the Roasting Pan
To deglaze the pan, place the empty roaster on the stovetop over medium-high heat and add ¼ cup of water and the reserved 3 tablespoons of fat.
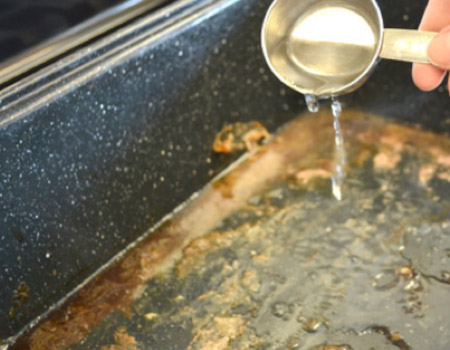

Stir constantly to loosen the brown bits on the bottom of the pan. The brown bits are what gives the gravy such great flavor.
Tip #3 – To strain or not to strain the gravy
Depending on whether you want the little brown bits in the gravy, you may want to strain the hot liquid and fat from the roasting pan. I do not strain the mixture because I like the brown bits in the gravy.
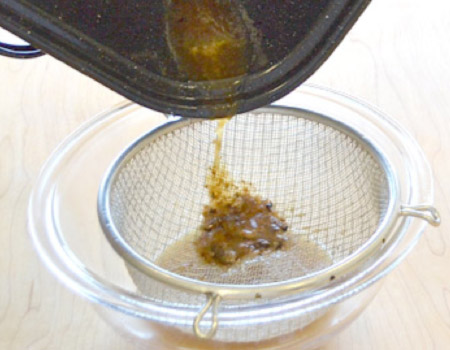
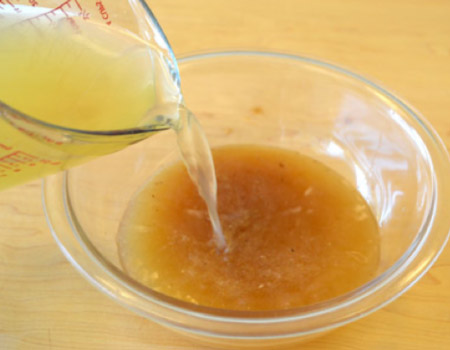
Once you strain the liquid, combine the mixture from the roasting pan with enough chicken broth or water to equal 3 cups liquid.
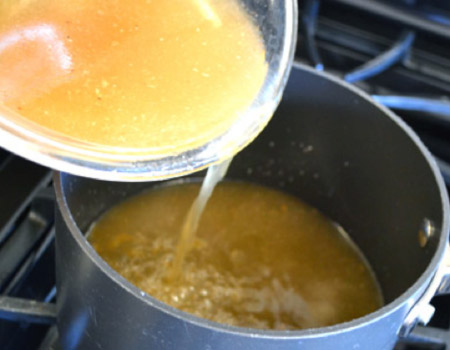
Tip #4 – Heat the liquid mixture, it needs to be hot!
Place 3 cups of pan juice and the fat mixture into a 3-quart saucepan and heat the mixture over medium heat until it comes to a full boil. The liquid needs to be very hot before thickening the gravy with flour.
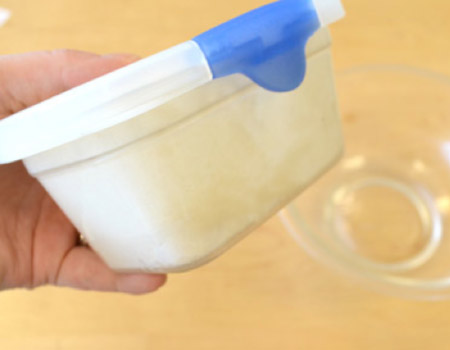
Tip #5 – Thickening the gravy
Combine ½ cup cold water and ½ cup flour in a container with a tight-fitting lid and shake to mix it. I find if I use cold water to mix with the flour, lumps do not form in the container.
Shake the container vigorously until the mixture comes together. 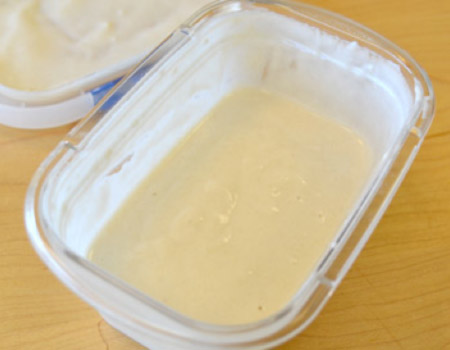
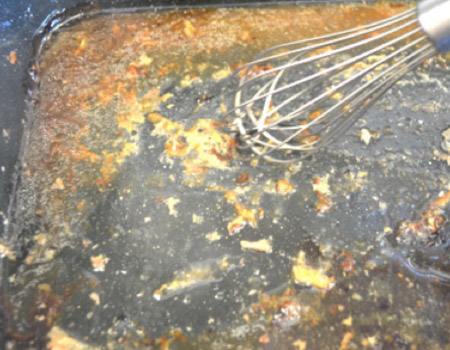
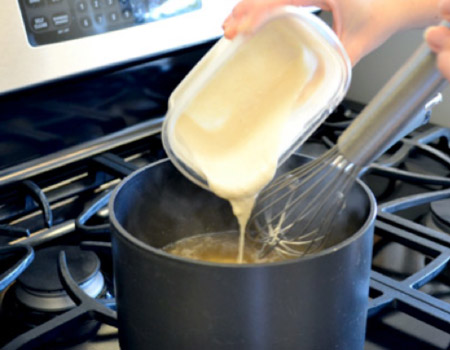
Tip #6 – Use a whisk to mix in the flour mixture
Pour the flour mixture into the hot liquid, whisking constantly. This part is very important! If you do not stir constantly, the flour mixture could create lumps. The whisk helps to prevent lumps from forming. If lumps do form, the whisk will help to break them up.
Tip #7 – If your gravy gets lumpy, strain it!
Sometimes, as hard as you try, the gravy still has some lumps. Carefully pour the gravy from the pan into a strainer to remove the lumps.
Boil the gravy for 1 to 2 minutes to make sure the flour is thoroughly cooked.

Season the gravy with salt and pepper to your liking. Voila! Your gravy is ready to serve, and ready for rave reviews. Yes, you can do it, just like Mom!
Share Your Thoughts
Did you find this article helpful? Has it inspired you? What else would you like to know?