


Icebox Desserts: A Cool Summer Intern Project
Every summer, we are lucky enough to have an intern in the Test Kitchens. I was one of those interns 4 years ago, and every summer since then it has become somewhat of a tradition for our intern to write a recipe blog. So this year, our intern Hannah wrote about one of her summer experiences here in the Test Kitchens. I’ll let her take over from here…
SEE THE RECIPE
 by
Mallory
by
Mallory
by
Mallory
Every summer, we are lucky enough to have an intern in the Test Kitchens. I was one of those interns 4 years ago, and every summer since then it has become somewhat of a tradition for our intern to write a recipe blog. So this year, our intern Hannah wrote about one of her summer experiences here in the Test Kitchens. I’ll let her take over from here…
Hi there! Here’s a little about me – I will be graduating from the University of Minnesota-Twin Cities next spring with a degree in Food Science. I’ve always loved science and experimenting in the kitchen, so when I discovered a program that married two of my favorite things, I knew it was perfect for me.
As it turns out, it was one of the best decisions I’ve ever made! I have loved all my classes so far, and I scored my dream internship this summer in the Test Kitchens here at Land O’Lakes.
So what have I been doing as an intern? I frequently joke that I’ve spent my summer churning butter. However, I have been involved in a variety of projects in each of the Test Kitchen’s departments: retail, foodservice and even consumer affairs and customer concerns.

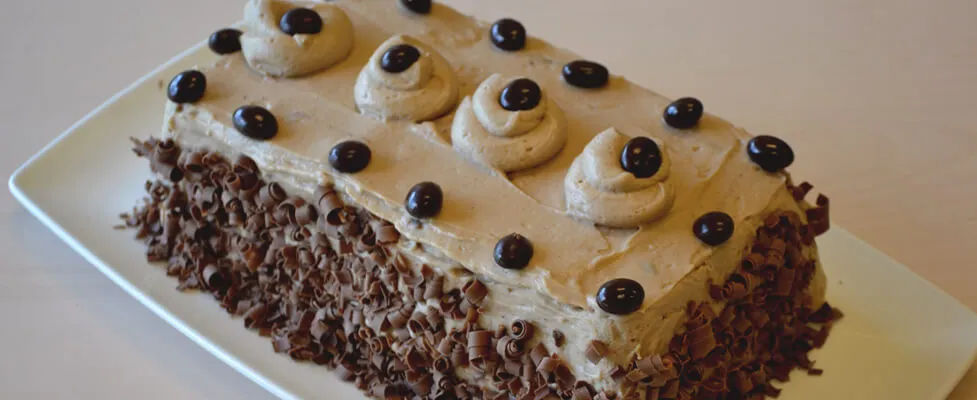
One of the first projects I started working on this summer was icebox desserts recipe development. Ok, I confess, icebox desserts are before my time, but after some research I learned that these “retro” layered desserts are usually made with wafer cookies or graham crackers and whipped cream, and refrigerated for several hours so that the cookies or crackers soak up the moisture from the whipped cream to give them a cake-like texture. In fact, the very first recipe I started developing was the Café Mocha Icebox Dessert, and it was huge success!
Icebox cakes are great make-ahead desserts for summer; you don’t even have to touch your oven. And trust me, after making it several times during development, it’s actually much easier to put together than it looks!
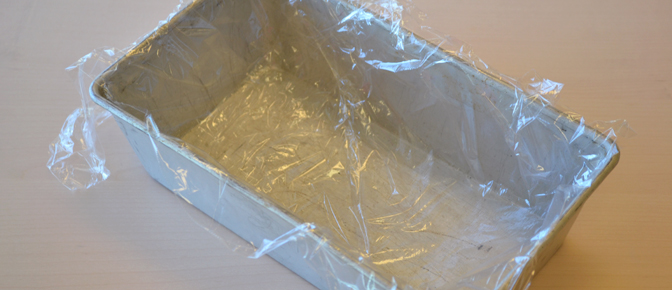
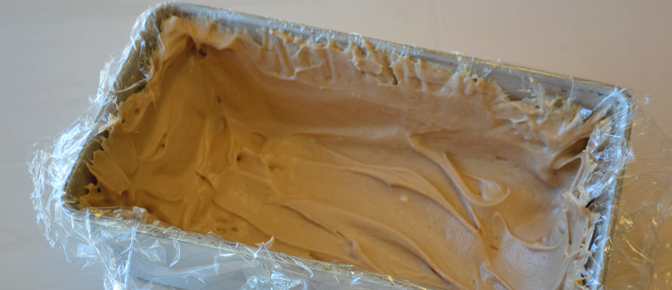
First, line the inside of a 9x5-inch loaf pan with plastic food wrap. I used two pieces so that when I put in the filling, there was some wrap hanging over the edges of the pan. Set this aside for later.
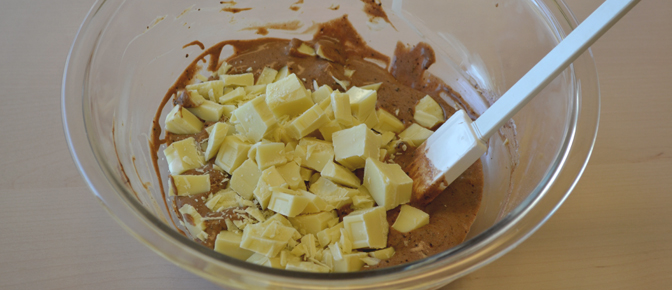
In a bowl, stir together 1/2 cup whipping cream, mocha drink mix, and espresso granules. Then add chopped white baking chocolate.
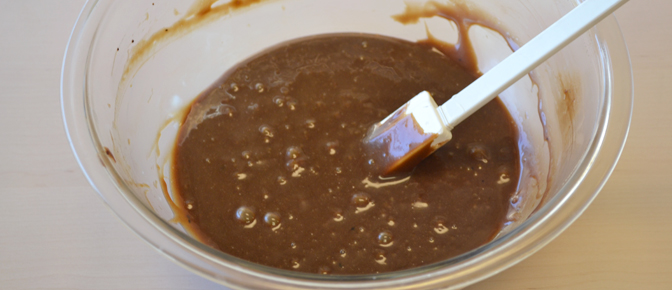
Microwave for 30-40 seconds (or until melted) and stir until it’s smooth. To cool the mixture, refrigerate it 15-20 minutes.
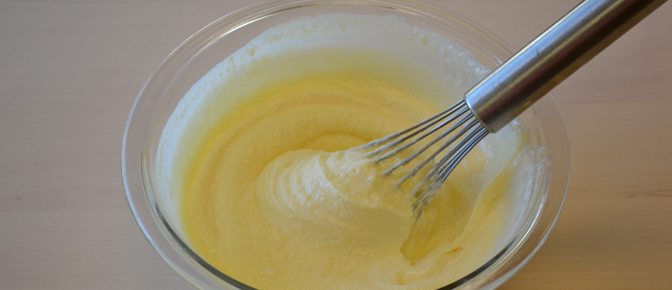
Next, combine half & half and the pudding mix in a bowl and beat with a whisk until it thickens. I put it in the fridge while the coffee mix cooled.
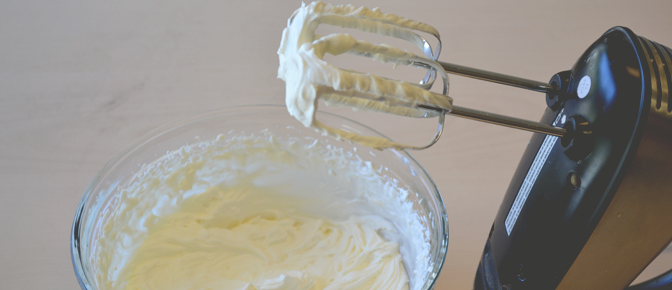
Add the remaining 2 cups of whipping cream to the bowl, then beat on High with an electric mixer, scraping the bowl often, until soft peaks form.
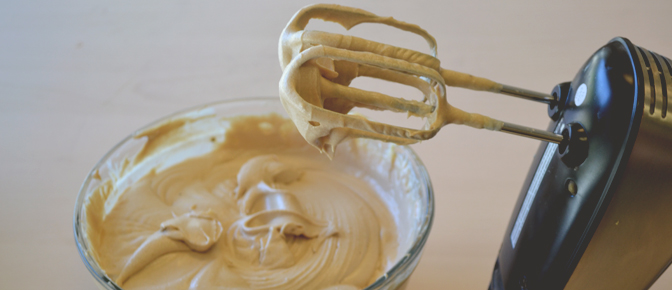
Add the cooled coffee-chocolate mixture and beat until it thickens. Then add the pudding mixture and beat until it’s well-mixed.
You’re ready to start assembling! Spread 1 1/2 cups filling in the bottom and around the sides of the pan.
Take a chocolate wafer cookie and spread it with 1 tablespoon filling.
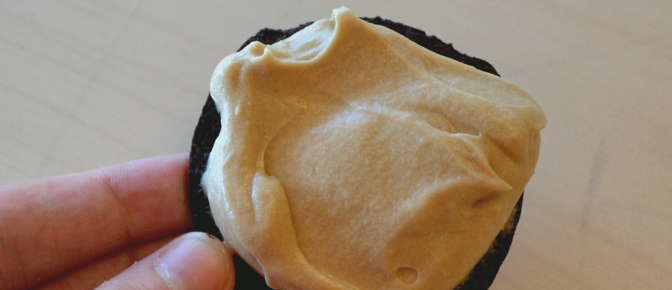
Starting at the short side of the pan, place the cookie standing up on its edge.
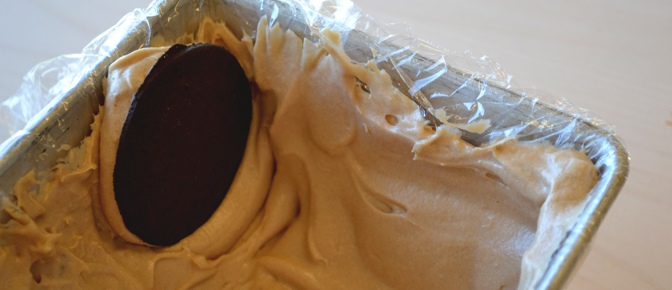
Repeat this process until the row has 13 cookies total that are stacked together like dominoes. Gently squeeze the cookies together as you go.
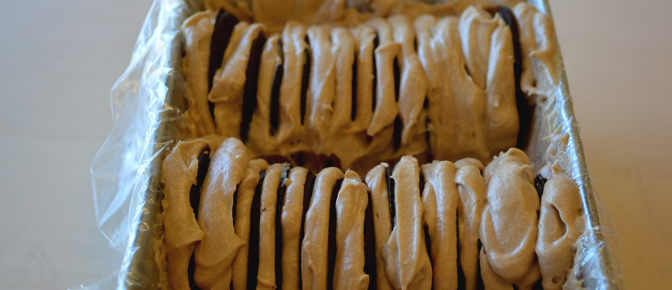
Do the same thing to create a second and a third row.

Reserve 1 cup of the filling mixture to decorate with after the dessert has set up in the refrigerator. Spread the remainder of the filling in the loaf pan to fill all the gaps.
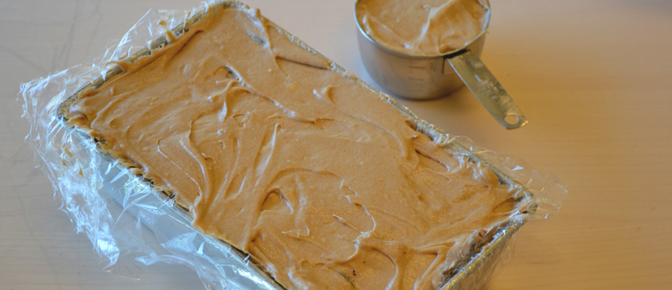
Cover the ends and the sides with plastic food wrap. Then refrigerate for at least 5 hours or overnight. You know what they say: patience is a virtue.

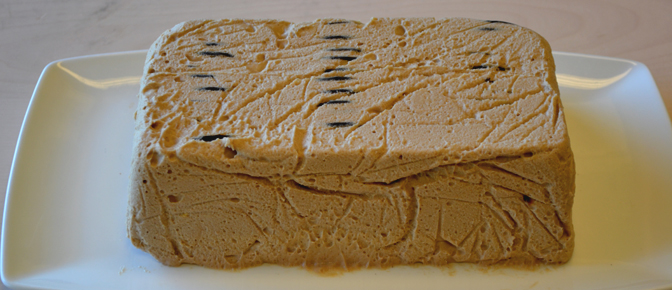
Finally, it’s time to serve! Take off the top layer of plastic wrap and place a serving platter over the loaf pan. Then – 1, 2, 3, flip!
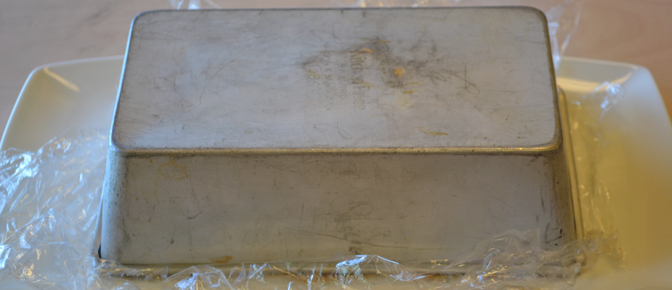
The cake should slide right out, thanks to the plastic wrap, which may now be removed.
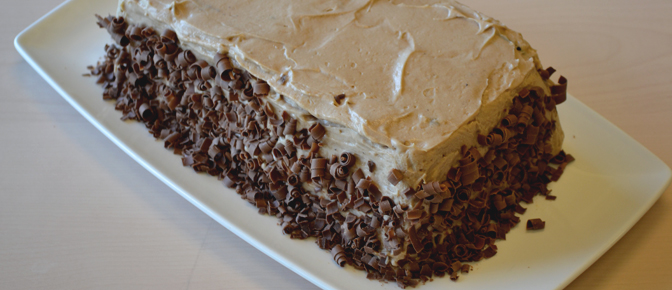
If any cookies are showing on the sides, touch them up with the remaining filling. Then decorate by pressing chocolate shavings into the sides of the cake.
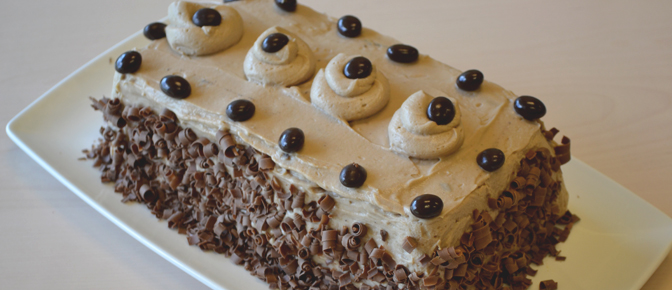
Using a piping bag, or a small, re-sealable plastic bag with a small hole cut in the corner, pipe small swirls of filling on top. and place those chocolate-covered espresso beans you get at your favorite coffee house in the middle…and along the edges, if you love them as much as I do.
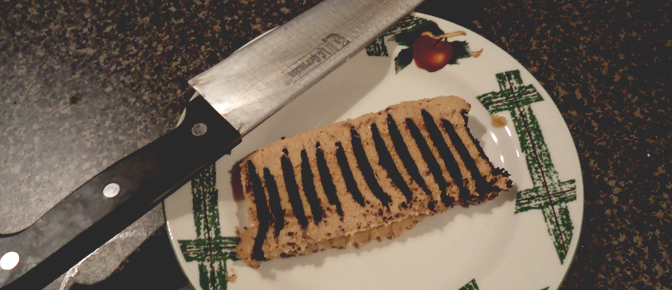
I have found the trick is to slice in one swift motion using a sharp knife so that you can see the beautiful layers of this tasty treat.
Finally, gather your family, friends, or in my case, my roommates and neighbors across the hall, to indulge in this delicious and refreshing icebox dessert.

Be sure to check out the other icebox dessert recipes I helped develop in the Icebox Desserts Recipes Collection.
Share Your Thoughts
Did you find this article helpful? Has it inspired you? What else would you like to know?
Ready to make the recipe? Let’s get started making Café Mocha Icebox Dessert!

