Mid-Summer Cool Down with Homemade Ice Cream
Shopping the other day I came across what seemed to be the perfect summer pick-me-up: an ice cream maker! We sometimes make ice cream in the old-fashioned crank machine at Grandma Lucy’s, so I knew it was easy and fun to make at home.
SEE THE RECIPE
 by
Liz
by
Liz
by
Liz
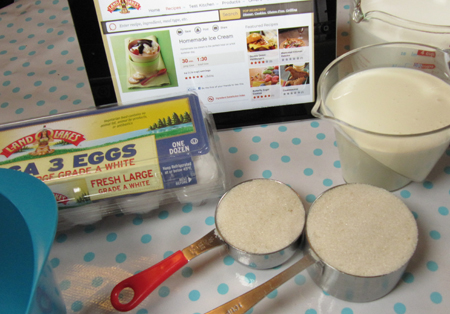
Shopping the other day I came across what seemed to be the perfect summer pick-me-up: an ice cream maker! We sometimes make ice cream in the old-fashioned crank machine at Grandma Lucy’s, so I knew it was easy and fun to make at home. I used my smartphone to check for recipes, and when I saw the Homemade Ice Cream recipe with only six simple ingredients, I put the machine in my cart! July in Minnesota is brutally hot, and this was just what my family needed for a mid-summer cool down.
The recipes that came with my machine looked simple indeed, but I knew from experience that using eggs and cooking the mixture first made ice cream that was so much more delicious, rich and creamy. The Homemade Ice Cream recipe was perfect and I felt it was worth the effort to make a custard-style ice cream.
First, gather the ingredients. The cream and vanilla are added later, so keep the cream in the refrigerator for now.
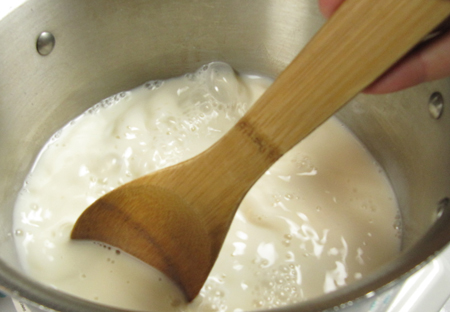
Then begin cooking by stirring the sugar and salt into the milk over medium heat until they’re dissolved—this took me about 7 minutes.
Next, break the eggs into a bowl …
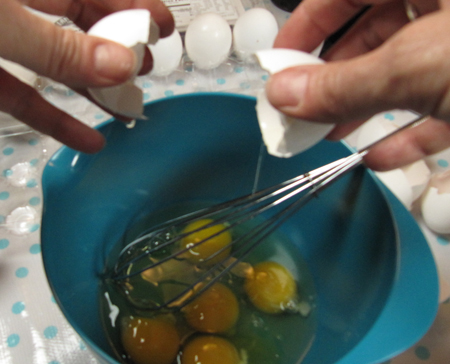
And whisk them together.
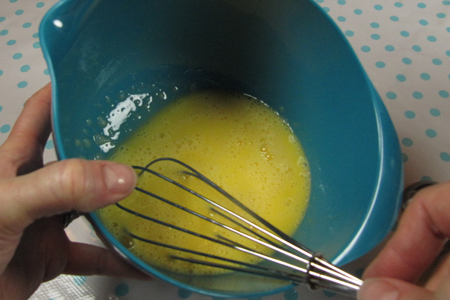
Keep whisking until they are light and lemon-colored. I whisked mine by hand and it took about 5 minutes. An electric mixture takes less time, probably about 3 minutes.

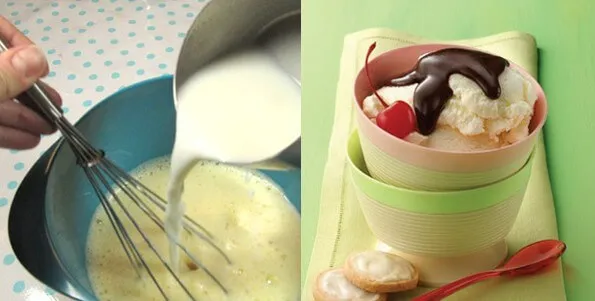
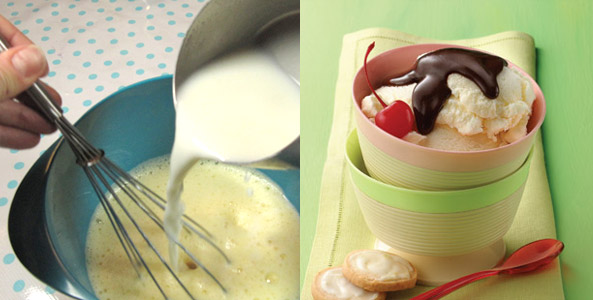
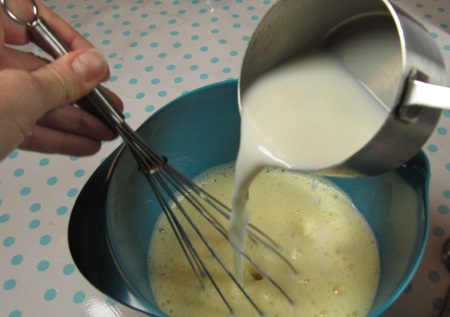
Now whisk a cup or two of the hot milk mixture into the beaten eggs. You want to keep whisking and add this slowly so the eggs don’t curdle.
Now simply pour the warmed egg mixture into the pan of hot milk, sugar and salt. Again, whisk continuously for a creamy ice cream texture.

Continue cooking, whisking continuously, for about 10 minutes. Whenever I bake or cook and there is a lot of stirring or whisking involved, I like to enlist the girls. I ask them to whisk 100 or 200 times and then we trade off, passing the bowl and whisk around, or standing at the stove and stirring—taking turns. Many hands whisking not only lightens the load, but also makes it fun!
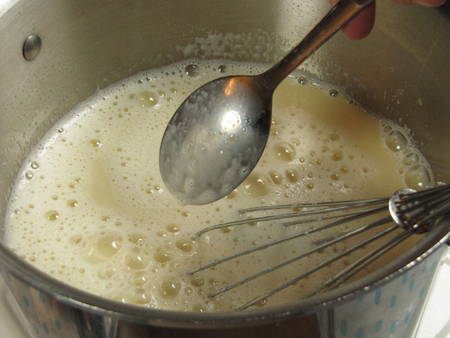
Whisk and cook until the mixture reaches 160° and coats the back of the spoon. This picture shows the mixture after about 3 minutes—definitely not ready.
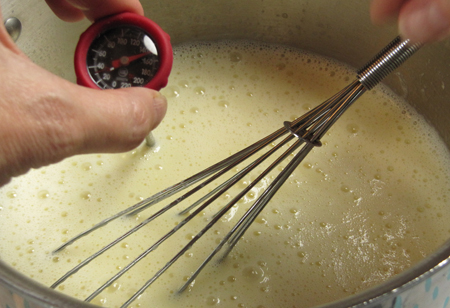
After about 7 minutes, check the mixture with a thermometer if you have one. Place it into the middle of the hot mixture without touching the bottom of the pan until you get a reading. Some thermometers attach to the side of the pan so you don’t have to hold onto it while whisking. I just used it until I was close to 160°, and then I used the spoon test to confirm doneness.
If you don’t have a thermometer, or just want to have an extra way to confirm that the mixture is ready, keep some clean spoons handy and just check every once in a while until the mixture has thickened somewhat and coats the spoon. Make sure you stop cooking before it comes to a boil or the mixture might curdle.

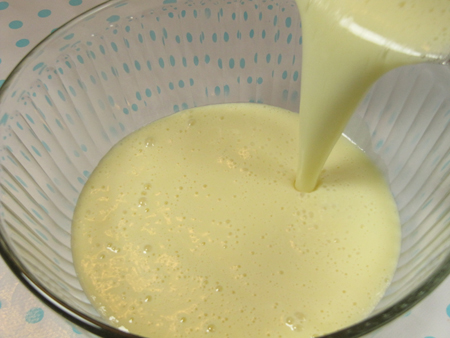
Now pour the mixture into a clean bowl and put it into the refrigerator to chill. The recipe says to chill for 1 to 2 hours, but even longer is better if you have one of the new, automatic ice cream makers that utilize the bowl you freeze instead of the traditional ice and rock salt.
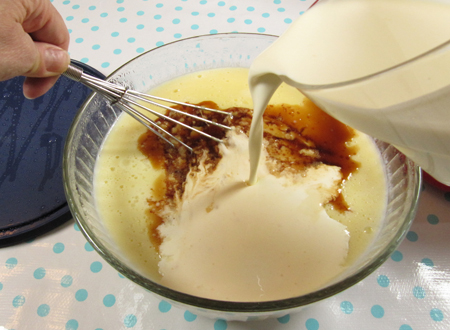
When the mixture is well-chilled and you are ready to make ice cream, whisk in the cream and the vanilla.
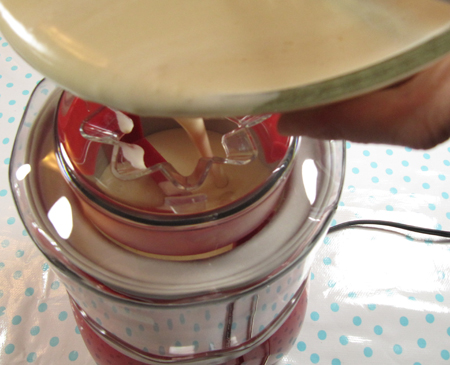
Then simply follow the directions for adding the mixture to your machine. Note that this recipe makes 3 quarts and our machine capacity was only 1 ½ quarts, so I divided the mixture into two parts. We made one 1 ½-quart batch, and then made another a couple days later.
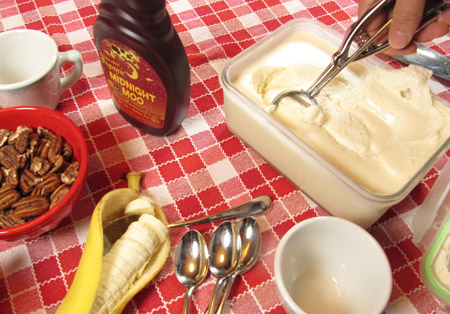
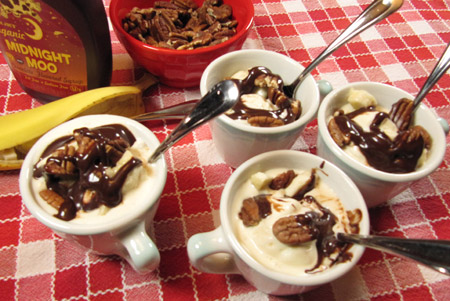
Our ice cream maker produced pretty soft ice cream, so we put it into a glass container and froze it for another 3 hours. Then, we gathered up some toppings—fudge sauce, toasted nuts and bananas—and made some pretty awesome sundaes.
July heat was under control!
This recipe was so creamy, and I love that there are no thickeners or artificial flavors like you find in most store-bought ice creams. I hope you try making your own Homemade Ice Cream this summer, and let me know if you find it worth it and fun to make it yourself.
Check back in a few days when Amanda celebrates another special occasion with the perfect appetizer.
Liz is paid to write for the Land O'Lakes Recipe Buzz™ Blog.
Share Your Thoughts
Did you find this article helpful? Has it inspired you? What else would you like to know?
Ready to make the recipe? Let’s get started making Homemade Ice Cream!