


Mom’s Turn to Make Homemade Doughnuts
Every spring when my husband Joe was living at home, his mom, Grandma Lucy, would take one day to make homemade doughnuts. The exact day was always a surprise. He and his siblings would walk home from school and know as soon they approached the door that this was doughnut day!
SEE THE RECIPE
 by
Liz
by
Liz
by
Liz
Every spring when my husband Joe was living at home, his mom, Grandma Lucy, would take one day to make homemade doughnuts. The exact day was always a surprise. He and his siblings would walk home from school and know as soon they approached the door that this was doughnut day! About 8 dozen doughnuts would be laying out on brown paper—made from cut-up grocery bags—completely covering all the counters and the kitchen table, too. Everyone could have two doughnuts right away, then two more after dinner. She froze the rest, and would portion them out over the next few weeks. They ate them straight from the freezer, and Joe says he loved them frozen and dunked into "kid coffee"—a hot drink consisting mostly of milk with a little coffee and sugar.
Last month when we visited Grandma Lucy, we asked if she would make doughnuts. My older daughter Kate got the chance to learn how to make her recipe.
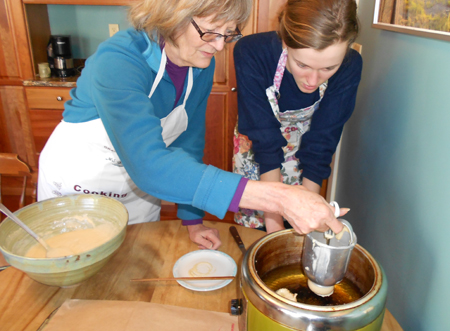
The rest of the family just stood around and ate the doughnuts as soon as they were cool enough to handle. Wow, they were good! Grandma Lucy uses a doughnut press, which is basically the Grandmother’s Doughnuts recipe with less flour so it’s more like a thick batter. Kate was not thrilled with some of the mutant shapes she created, but no one thought twice about eating them!

It was now Mom’s turn to make doughnuts! The Land O’Lakes recipe for Grandmother’s Doughnuts has more flour because you make a firmer dough that you roll out and cut with a doughnut cutter. It takes about an hour and a half, but it’s very easy and pretty amazing when you show up somewhere with homemade doughnuts. I found a lot of people had never had a homemade doughnut!
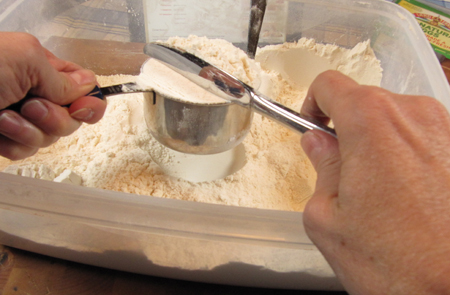
To make your own doughnuts, start by making the dough. Just put all the ingredients in a bowl, except the oil (that’s for frying) and the extra sugar (that’s for optional sprinkling). I started with the flour, and made sure to spoon it into the measuring cup and level it off. This ensures the flour isn’t too heavily packed, which can make for dry doughnuts.
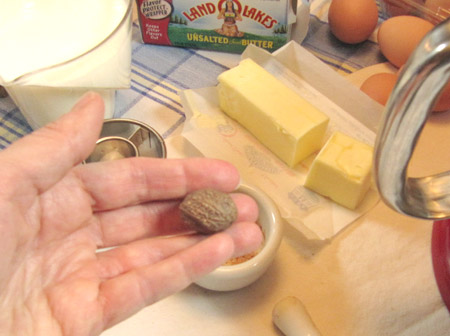
Add the flour to the mixing bowl along with the other dry ingredients including the nutmeg. You can buy ground nutmeg, but I love to grind it fresh. Here’s a whole nutmeg for grinding.
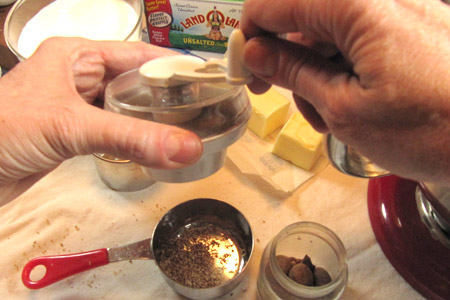
You can grate nutmeg with a small grater, or a special nutmeg grinder like I have. There are many different kinds out there.
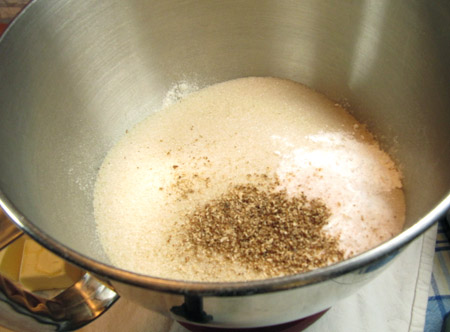
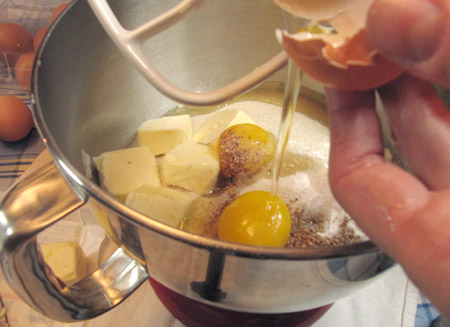
Toss the ground nutmeg onto the flour in the mixing bowl, along with the sugar, baking soda and baking powder.
Next, add the butter and the fresh eggs.
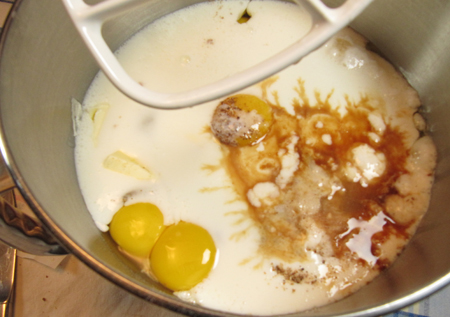
Then add the buttermilk, vanilla, and almond extract. Looks a bit like a mess, but it comes together quickly…
Mix on low until it forms a batter. Stop and scrape a few times. At first it will be thick and clumpy …
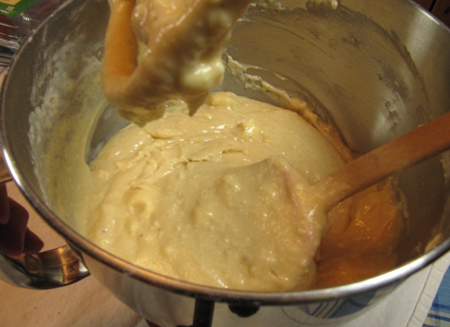
… but after a few minutes it will be like a thick cake batter and much smoother. It’s fine if the batter has a few small butter lumps.

Now it’s time to incorporate the remaining flour, keeping in mind you may not need all extra 4-5 cups. Add one cup at a time and stir just until the flour is moistened.
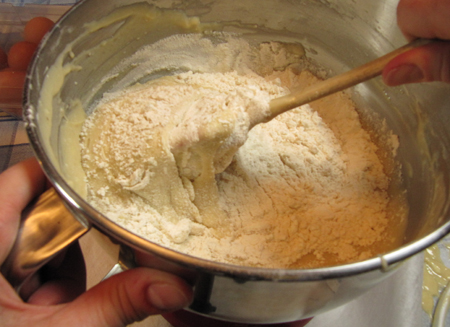
After the first extra cup, the batter was already getting too thick to stir. At this point I think you could use the mixer with the dough hook, or use a manual dough hook like mine. (I found this at a high-end cookware store, but you can probably find it online, too.) It’s fantastic for mixing bread dough, and I found it worked great for doughnut dough, too!
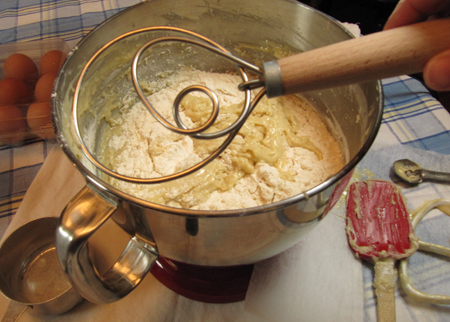
The trick is to stir "just enough." Too much working this dough can make the doughnuts tough. After you add the fourth cup—or whenever it becomes too hard to mix by hand—pour out the contents onto a floured surface and knead for no more than 2 minutes, incorporating only as much flour as is needed to make a soft but not sticky dough. This dough smells delicious, too – a lot like sugar cookie dough!

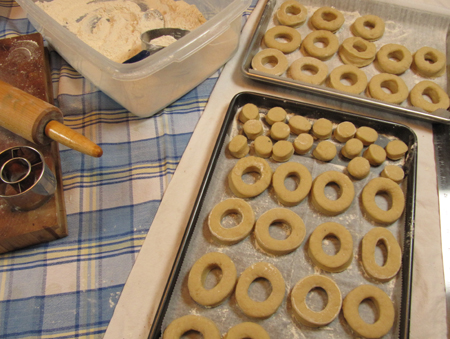
When the dough is smooth, form it into a ball and roll it out to 3/8-inch thick.
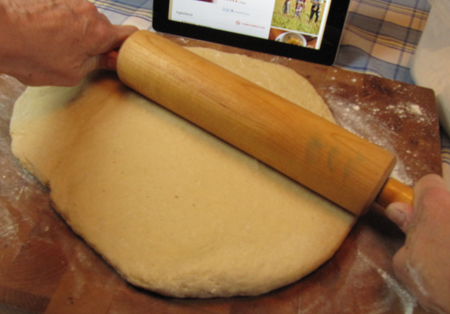
As the recipe says, the thickness is important for these doughnuts. I used a ruler to double check my thickness before cutting the doughnuts.
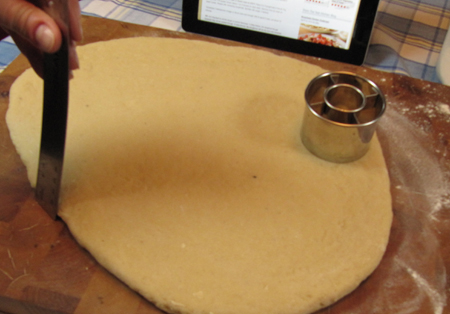
I bought my 2 ½-inch doughnut cutter for $3 at a cookware store, and have fallen in love with it. It’s so fun to use and works great.
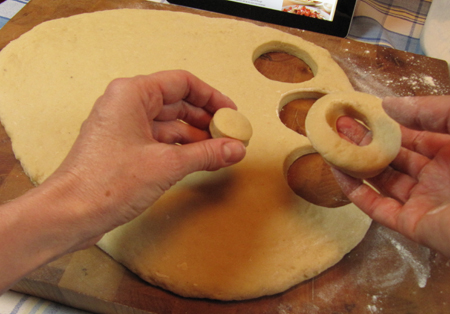
I lined a cookie sheet with wax paper and a dusting of flour, and filled it with the cut-out doughnut shapes. It was already late afternoon, so I decided to cover them with plastic wrap and store them in the fridge to fry up in the morning. Doughnuts are best fresh, so a big batch for breakfast and to send to school and work seemed a much better idea than eating too many doughnuts right before bed!
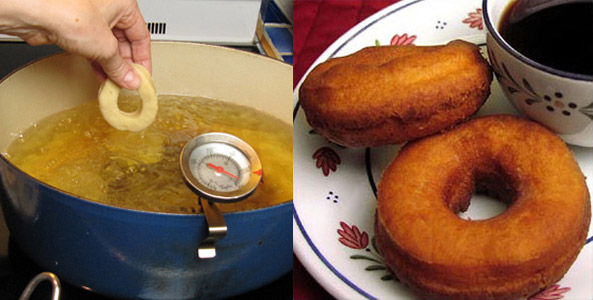
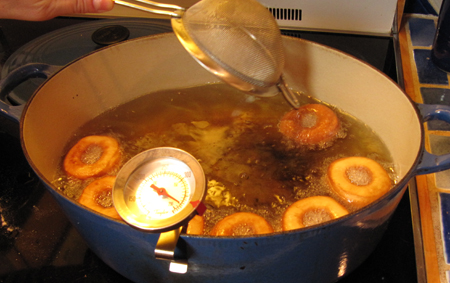
In the morning, I heated the oil in a cast iron pot with a thermometer so I could tell when it hit 375˚F. If you have a fryer, I think it is easier, but I don’t fry often so didn’t want to buy an extra appliance. My tip on frying without a fryer is to heat the oil on medium. It may take 20 minutes, but when I first heated the oil on medium-high, it hit 375˚F and then just kept climbing. I got one batch in and then had to take it off the burner for about 15 minutes to cool it back to the correct temperature!
To begin, I made one doughnut just to test the process as I was new to the homemade doughnut game!
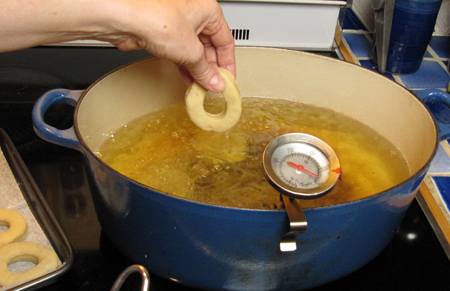
I carefully dropped a doughnut into the oil. I cooked it for about 1 minute on each side—with my temperature rising it browned faster than I expected. You may want to lay the dough on a spoon or otherwise ease it into the oil to avoid burning your hands.
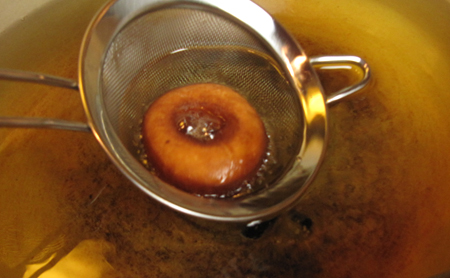
Next, I pulled the doughnut out with a small strainer and placed it onto a cookie sheet lined with two layers of paper towels. After I made four doughnuts, Kate volunteered to taste one.
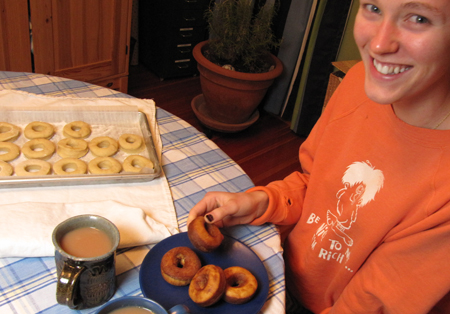
Preliminary taste testing proved a success! These are great "dunkers" for tea or coffee. Since my oil had climbed past 400˚F, I made a maple glaze while I waited for it to cool back to 375˚F. I thought a glaze would be prettier and more fun than sprinkling the sugar, and I found a recipe as part of the Glazed Doughnut recipe on the site.
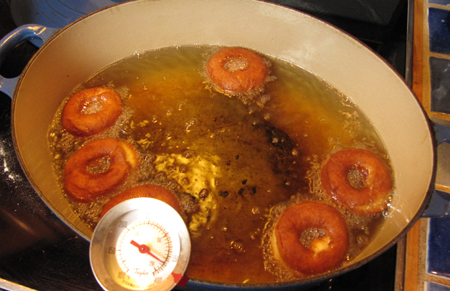
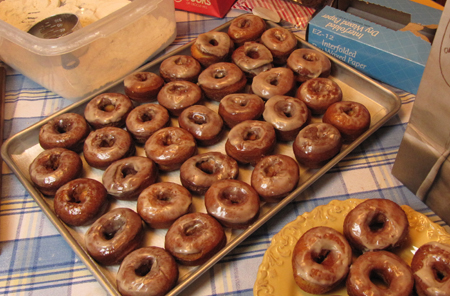
Once you’ve tested the doughnuts, it’s full speed ahead! The recipe makes 3 dozen doughnuts, and I ended up with that many doughnuts plus bunches of doughnut holes. When the oil reaches 375˚, drop in up to six doughnuts, but make sure they fit comfortably in the pan. After they rise to the top and are brown around the edges—this should take no more than 1-2 minutes—flip them over by just tipping them with the edge of a spoon or, in my case, the hanging loop of my strainer.
When they are all flipped over, cook them 1-2 minutes longer.
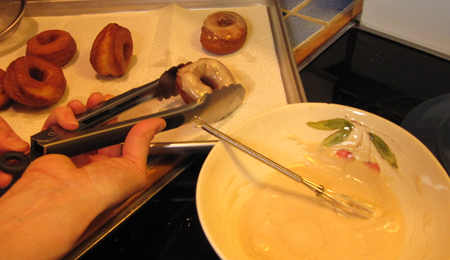
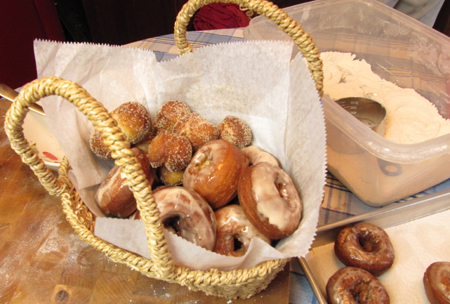
Then, use a slotted spoon or small handled colander to lift them out and dry them on paper towels. After they’ve drained for a few seconds, you can sprinkle them with sugar or, as I did, glaze them with maple glaze. If you are glazing, use a tongs to dip them into the glaze …
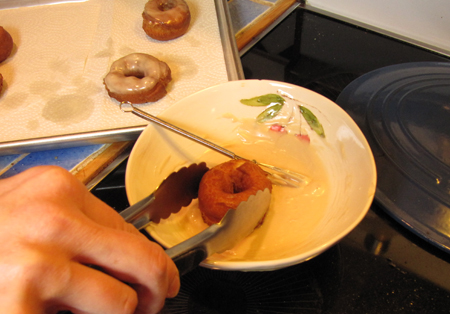
… then flip them back onto the paper towels to continue to drain and cool.
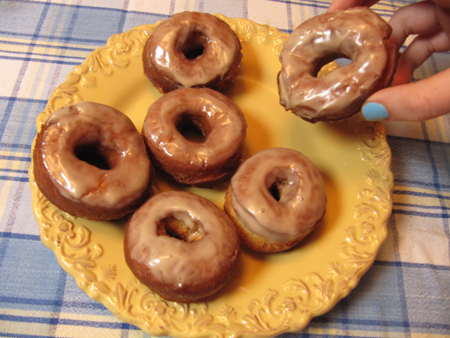
I thought this made for pretty doughnuts!
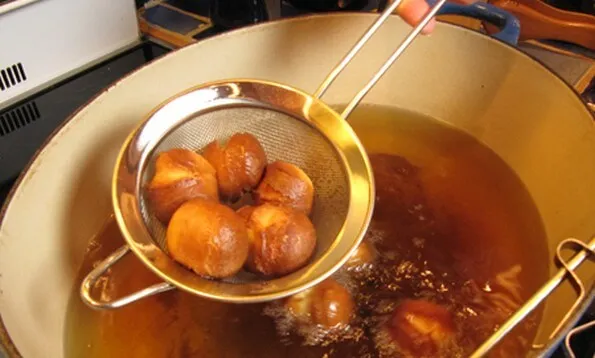
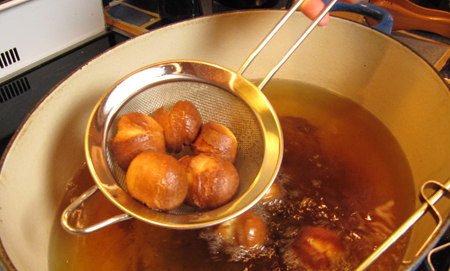
I also wanted to try frying the doughnut holes I’d saved.

I cooked them in the 375˚F oil for about 45 seconds on each side, until they were nicely browned. Then I used my colander to pull out several at once.
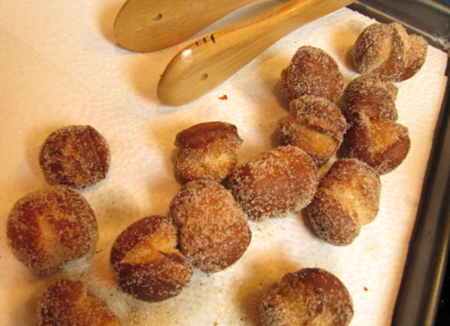
After letting the doughnut holes drain on the paper towels for a few seconds, I placed several at a time into a bowl of sugar with some chai spices and spooned the sugar mix over them.

In no time I had bunches of doughnut holes, too!
It was about time for everyone to go to school and work, and the family gathered around to eat some freshly-made doughnuts and package some up to take with them.
Doughnuts are a treat made for sharing, and it’s especially fun to give someone a homemade doughnut if they’ve never had one! My older daughter Kate packed up individual bags with a doughnut and a doughnut hole for her best friends …

My husband Joe brought a couple dozen to a morning meeting he was leading …
… and I brought the rest to my younger daughter’s school, passing them out to parents and teachers who were amazed that I had made homemade doughnuts!
All around, they were a huge hit. Everyone loves doughnuts, and everyone said they were some of the best doughnuts they’d ever had. It turned out to be worth the effort and a lot of fun to share Grandmother’s Doughnuts. I’d love for you to try this recipe, for Mother’s Day or for a special spring treat. Let me know how it goes and how people respond to your homemade doughnuts!
Check back in a few days when Tami makes a tasty pasta dish using Land O’Lakes® newest deli cheese …
Liz is paid to write for the Land O'Lakes Recipe Buzz® Blog.
Share Your Thoughts
Did you find this article helpful? Has it inspired you? What else would you like to know?
Ready to make the recipe? Let’s get started making Grandmother's Doughnuts!

