


Sprinkling the Fair with Snowflakes
Every year my younger daughter’s school holds a Holiday Fair, with lots of games and crafts and gifts, plus a giant bake sale. Each family brings at least one item for the bake sale. Cut-out cookies are always a big seller, so I decided on Eggnog Snowflakes as this year’s Lacey-Gotz contribution.
SEE THE RECIPE
 by
Liz
by
Liz
by
Liz
Every year my younger daughter’s school holds a Holiday Fair, with lots of games and crafts and gifts, plus a giant bake sale. Each family brings at least one item for the bake sale. Cut-out cookies are always a big seller, so I decided on Eggnog Snowflakes as this year’s Lacey-Gotz contribution. To make them extra beautiful, I bought some clear cake sparkles at the craft store—hoping they’ll look like snow when sprinkled on the glazed cookies.
So, the first step is baking the cookies! Making the dough is simple. Start by creaming the butter and sugar.
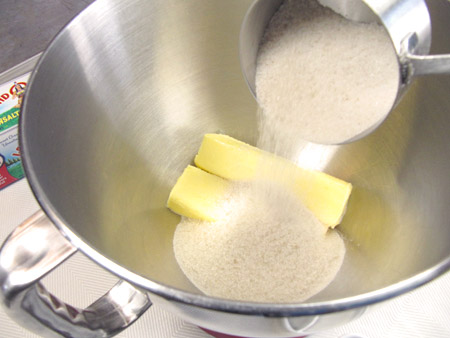
After a few minutes at medium speed, the mixture should be creamy.
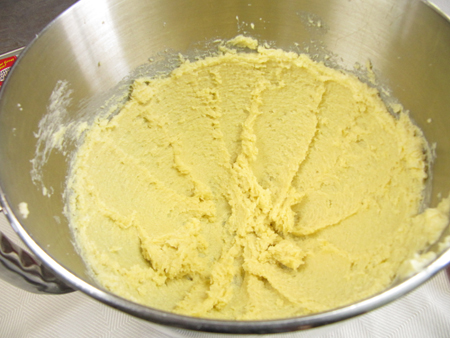
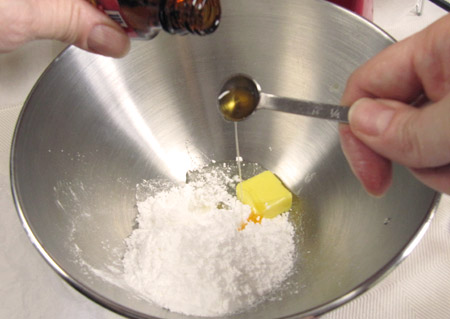
Next, add the egg, cream, rum extract and vanilla.
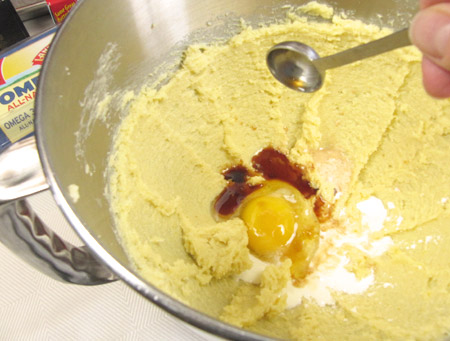
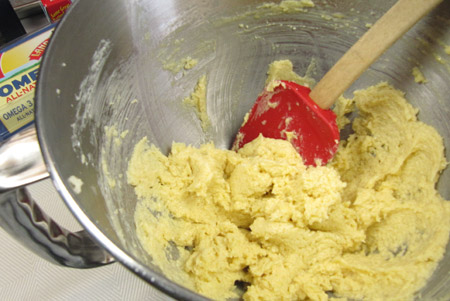
Continue beating until this is well mixed—I needed to stop a couple times and scrape down the sides.
Next, add the rest of the cookie ingredients, including the flour, baking powder, salt and spices.
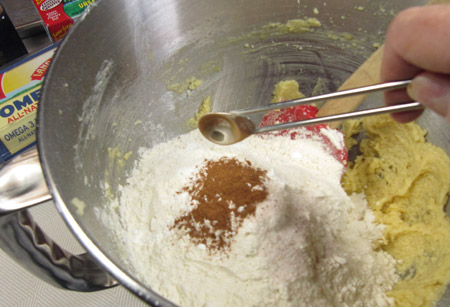
With the addition of the cinnamon and nutmeg, the aroma of holiday baking will scent the air! If you buy whole nutmeg and grind or grate it like I do, the fragrance will be especially heavenly.
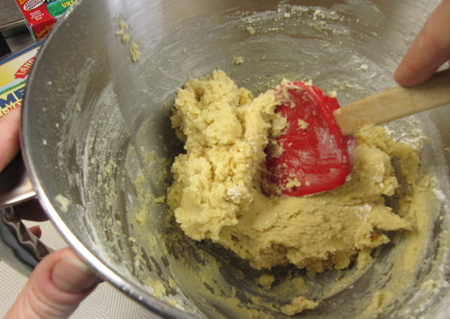
Mix on low just until everything is combined—start slow or you’ll be showered with flour!
Then, divide the dough into two mounds, each on a piece of plastic wrap. Form each mound into a ball.
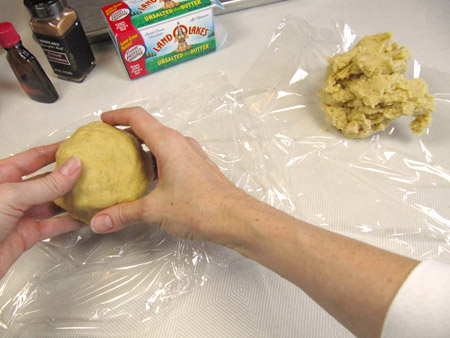
Flatten each ball into a disk and wrap it up in the plastic.
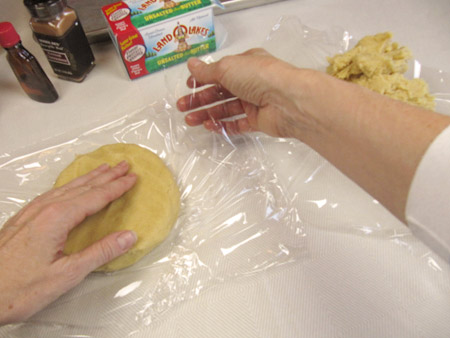
Refrigerate the dough for at least 2-3 hours to firm it up. When you are ready to roll out the cookies, get everything ready and then pull out one of the dough disks.
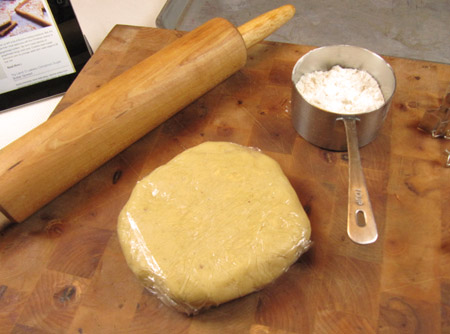
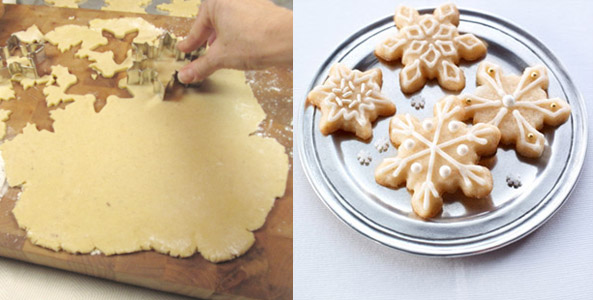
Unwrap the dough, flour the surface and rolling pin, and roll out the dough. Roll from the center to the sides, without going all the way to the edges. This helps to keep the dough from flattening out around the edges.
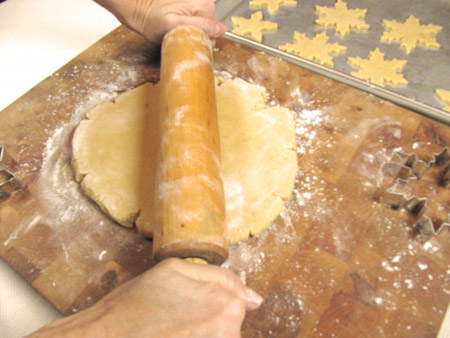
This is a soft dough, so be sure to keep the surface and rolling pin floured so it doesn’t stick. Flip the dough and re-flour the surface every several rolls. When the dough is about ¼" thick, press the cutter into the dough and make the snowflakes!
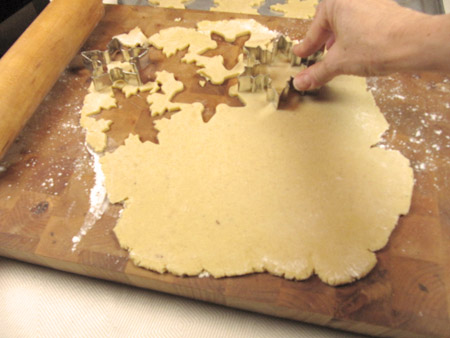
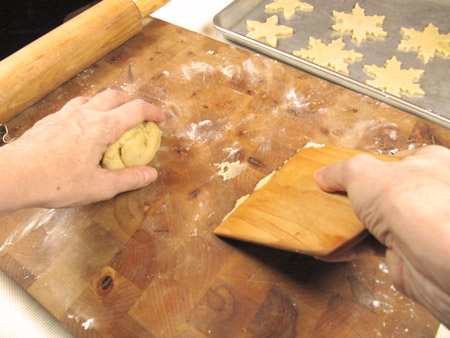
If at any point the dough gets stuck, just scrape it up and re-roll. If the dough gets too soft, shape it back into a disk and return it to the fridge for a bit.
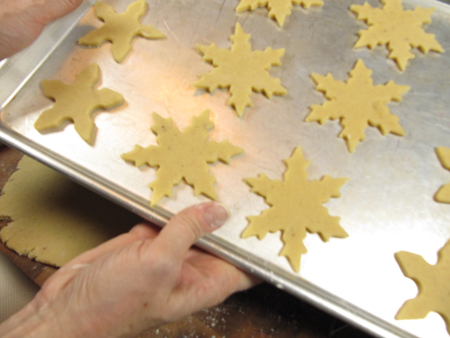
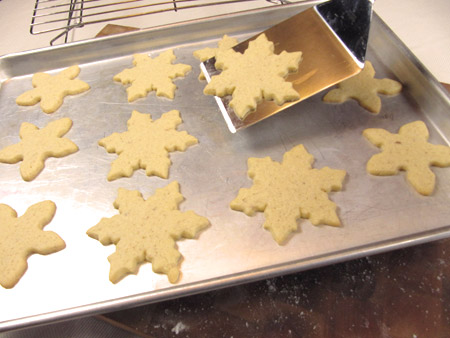
Once the first pan of cookies is ready, pop it into the oven and bake for 6-8 minutes.
My cookie cutters were a little larger than 2 inches, so I needed the full 8 minutes. If you are using a light-colored cookie sheet like mine, the cookies won’t brown much. To make sure cookies are done, test one by pressing lightly to make sure the cookie is firm. Cookies baked on a dark cookie sheet will brown more readily, so watch carefully and pull them out as soon as the edges brown.
Continue rolling out and baking, lifting the cookies off the cookie sheet a minute or two after they come out of the oven. These are fairly sturdy cookies, and even with the elaborate shape I didn’t lose a single snowflake.
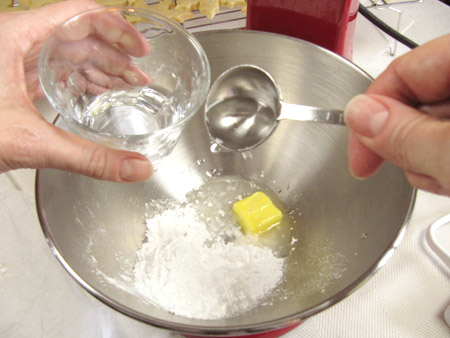
When the cookies are almost cool, it’s time to make the glaze. Simply put the glaze ingredients into a mixing bowl …
When adding the water, note that the recipe calls for 3 to 5 tablespoons. I filled a glass with filtered water and measured out 2 tablespoons for starters.
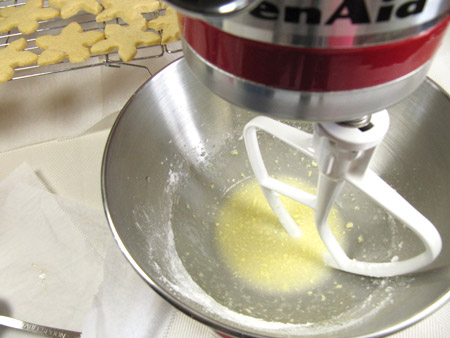
Beat the mixture on medium speed. It will look a little curdled at first …
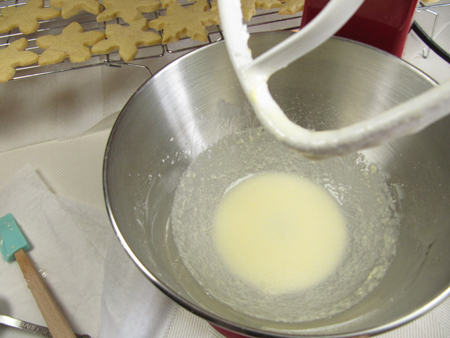
… and then the color will lighten a bit and it will look smooth. I didn’t need to add any additional water, but feel free to add another tablespoon at a time until it’s an easy brushing consistency.
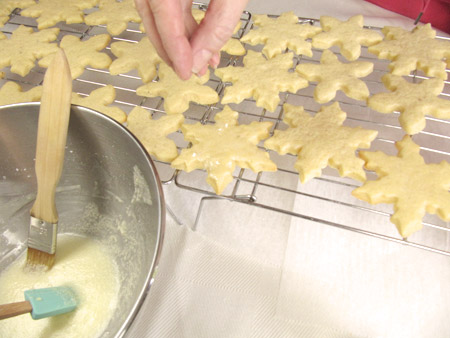
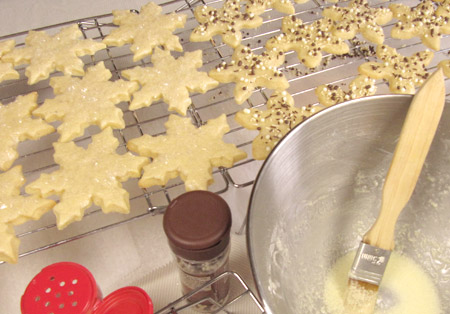
When the cookies are cool, brush on the glaze. Since the glaze is more like a gloss and goes on fairly clear, painting it on is fun and easy. I did a few at a time, then added the decorations while the glaze was wet.
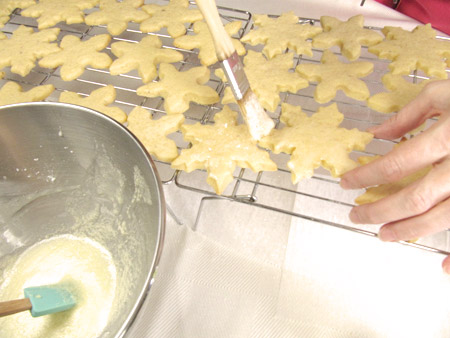
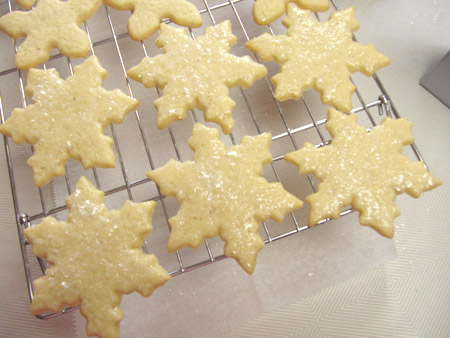
I sprinkled the clear cake sparkles on some of the snowflakes, and loved the special effect!
These were beautiful and simple, too. They would be perfect for a party or hostess gift.
On the other snowflakes, I tried a mixture of white chocolate and dark chocolate vermicelli plus some tiny chocolate pearls I found in the baking section. I used an empty spice bottle with a shaker top and mixed the two vermicellis, and then sprinkled them on the glazed cookies.
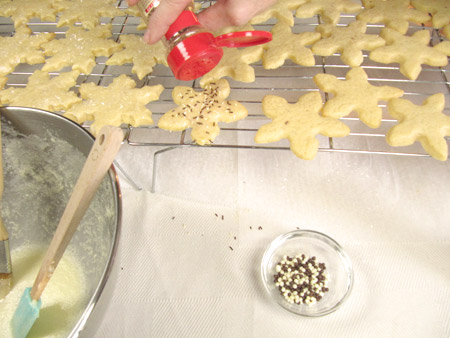
Then I sprinkled on a few of the chocolate pearls by hand.

A totally different look! These were fun, too. Make sure the glaze is generous enough so that the sprinkles have a base to stick to. Also, I noticed the glaze seemed to separate a little but it looked fine on the cookies, so I just gave it an occasional stir with the pastry brush.
All in all, I felt both my experiments were a success! I loved how easy the glaze was to work with.
I decided to package 10 of the chocolate-sprinkled snowflakes for the Holiday Fair bake sale. They were a perfect fit into the packages I bought at the craft store.
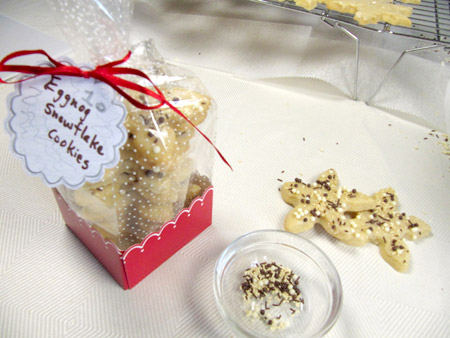
The "snowy" cookies can be sold as singles at the bake sale table. No doubt they’ll go fast! I’ll save a few for an upcoming party—I think they’ll look fantastic on my snowman platter.
In addition to being beautiful, these cookies have wonderful flavor. The nutmeg and cinnamon spice is subtle yet festive, and the addition of rum extract gives them just a hint of eggnog flavor. Let me know if you have comments on my blog, or if you try these Eggnog Snowflakes. They’re a great holiday treat!
Check back in a few days when Bridget will share another fabulous holiday cookie.
Liz is paid to write for the Land O'Lakes Recipe Buzz® Blog.
Share Your Thoughts
Did you find this article helpful? Has it inspired you? What else would you like to know?
Ready to make the recipe? Let’s get started making Snowflake Eggnog Cookies!

