Friday Afternoon Tart Surprise!
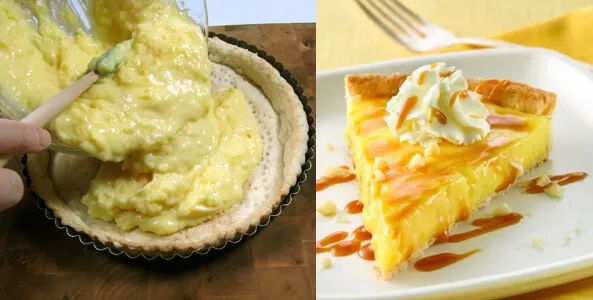
I love to take Friday afternoon off work, stay home to clean the house and prepare a special meal for the family. For a mom of a pre-teen and a young teen, being all alone in a quiet house is a rare treat. I get to choose the music, and I make tea while I clean, cook and bake. When I saw the Pineapple Rum Tart featured on the web site, I decided to try it. The recipe was simple, yet the presentation was fun and festive — a perfect way to kick off the weekend!
SEE THE RECIPE
 by
Liz
 by
Liz
I love to take Friday afternoon off work, stay home to clean the house and prepare a special meal for the family. For a mom of a pre-teen and a young teen, being all alone in a quiet house is a rare treat. I get to choose the music, and I make tea while I clean, cook and bake. When I saw the Pineapple Rum Tart featured on the web site, I decided to try it. The recipe was simple, yet the presentation was fun and festive — a perfect way to kick off the weekend!
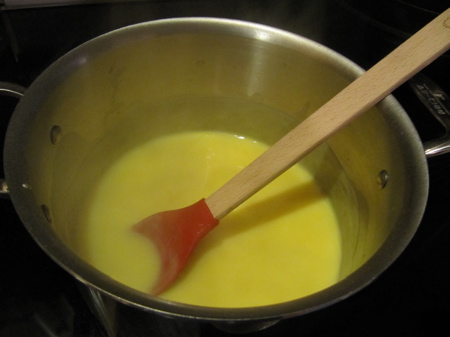
First, make the filling for the tart. Mix the pudding mix and milk and cook until thick and bubbling.
While the pudding is cooking, drain the pineapple using a small mesh strainer. Squeeze the extra liquid out with the back of a spoon, and just let it sit and drain over a bowl while the pudding and milk mixture comes to a boil.
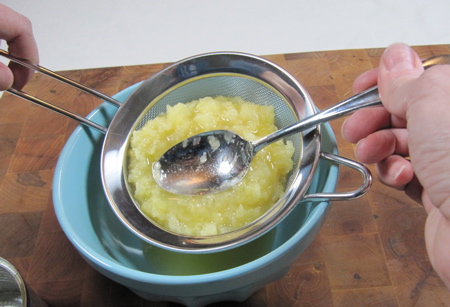
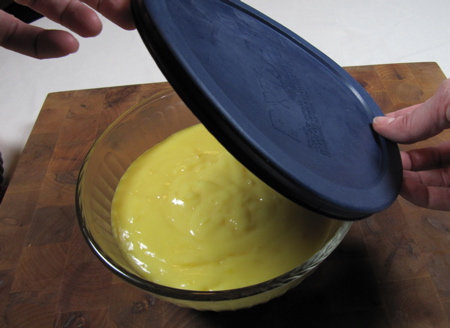
When the pudding mixture is done, add the rum extract and the drained pineapple. (I drank the drained pineapple juice right from the bowl so as not to waste it!) The resulting filling is ready to be refrigerated for an hour or two. The recipe calls for putting plastic on the pudding, which prevents a skin from forming, but I chose to just put it in a bowl with a lid and it didn't seem to negatively impact the final look of the tart.
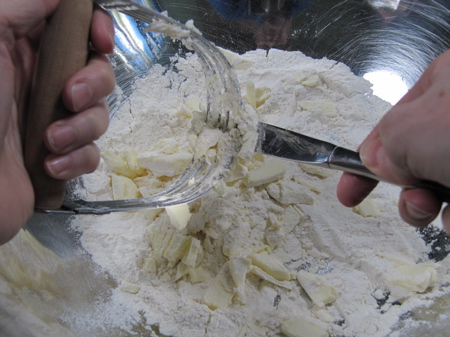
While the filling chills, make the pie crust. Cut the butter into roughly tablespoon sizes and cut it into the flour. Use a knife to scrape the butter off the pastry cutter after it starts to build up.
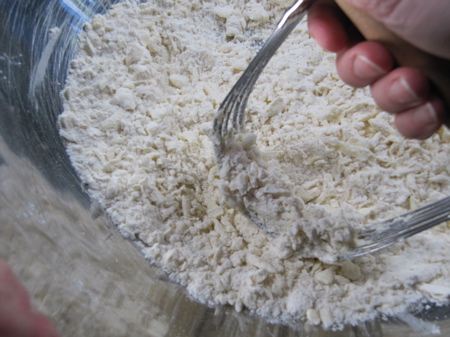
Cutting in is done when the butter is in pea-sized pieces like this...
Then add ice water and stir with a fork. Start with 4 tablespoons and add the fifth if there is a lot of dry flour around the edges.
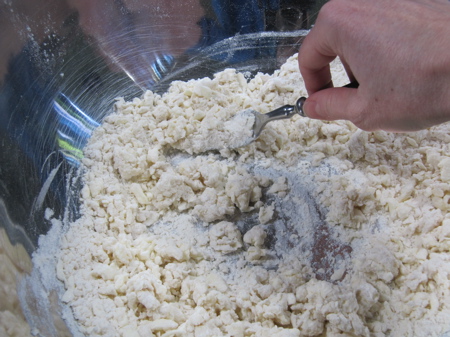
The mixture won't be wet, and you want to add just enough water to get it to stick together. If you've added all 5 tablespoons ice water and still aren't sure if it's enough, just grab some of the dough with your hands and press it together. If it sticks together with a little work (not too much!), then your'e ready to form it into a ball.
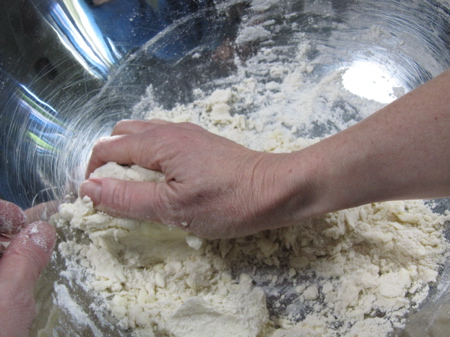
Once the dough is all gathered up in one ball, roll it out. Keep your surface and your rolling pin lightly floured, and flip the dough twice or three times as you roll it out to a 12-inch circle.
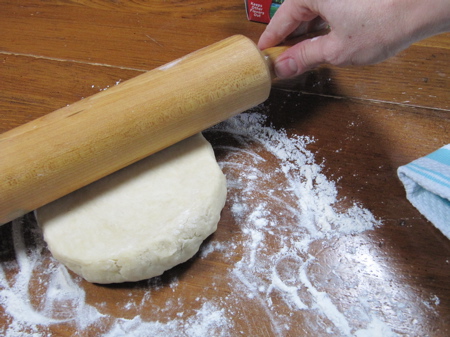
When it's rolled out to 12 inches, gently fold it first in half and then into quarters.
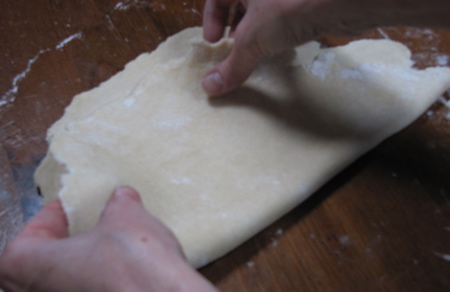
Pick up the quarter-folded dough and set it into the tart pan.
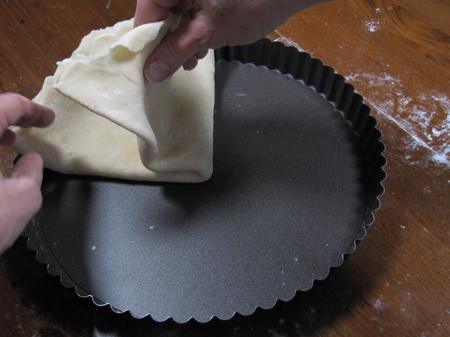
Once it's all unfolded, gently press it into the edges and up the sides of the pan.
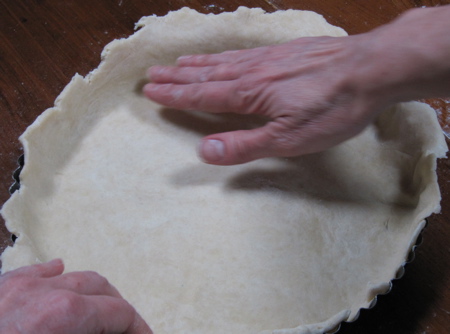
If any dough hangs over, just fold it down and press it together. The beauty of the tart pan is that it makes the decorative edge for you; all you have to do is press the dough against the sides of the pan!
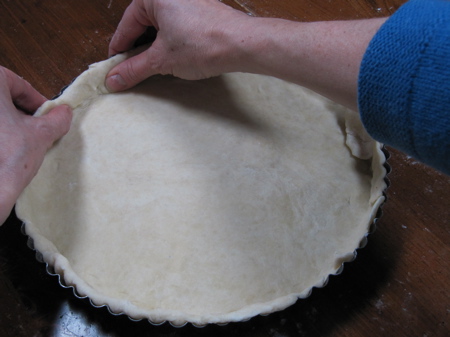
Once your dough is pressed in and even with the sides all around, prick it all over with a fork and pop it in the oven.
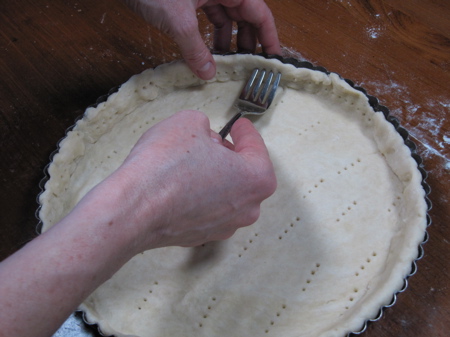
After the crust is baked, just pull it out and let it cool. I use metal pie beads to keep the crust from bubbling up. If you use beads, be sure to wait until they're cool enough to pull out!
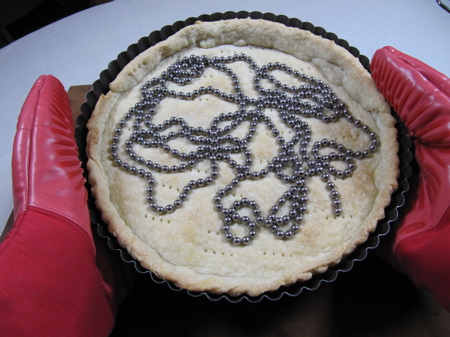
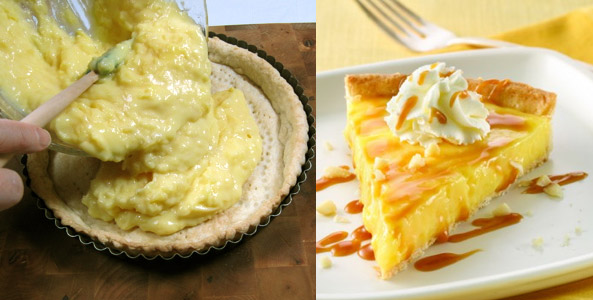
Let the crust cool in the pan on a rack until the custard is chilled. Then, just pour in the custard.
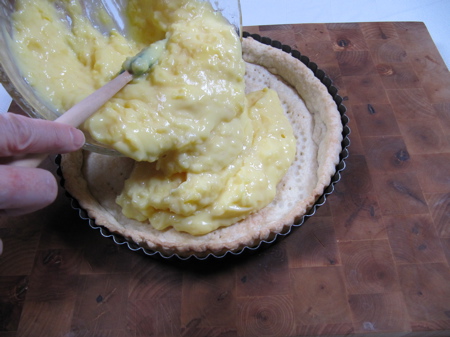
Basically, the tart is done! It just needs to chill for a couple hours and get decorated with a couple ingredients. When it's ready for toppings, just pop the side of the pan off — the removable bottom makes it so easy!
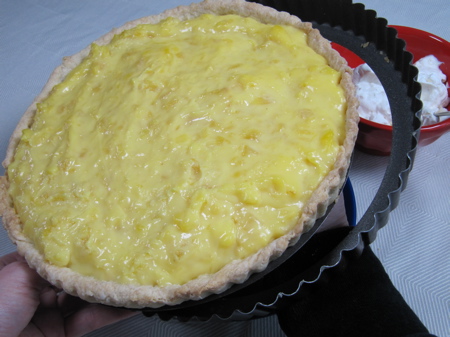
Every since I got the pan with the removable bottom, I love to make tarts and take them places. They're always a conversation starter at any gathering. Just slide the whole tart off the bottom onto a plate. You can even skip the plate and just carry it to the party in the pan, pop the sides off, and serve it on the bottom of the pan!
Then whip your whip cream, drizzle on some caramel using a spoon...
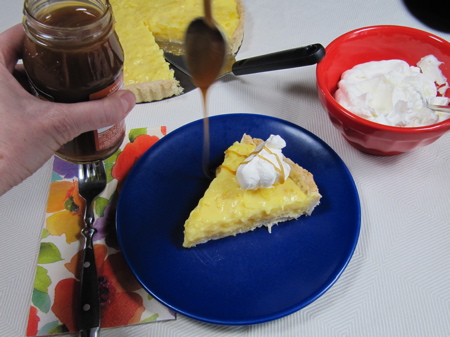
...and, viola, a gorgeous dessert easy enough for everyday.
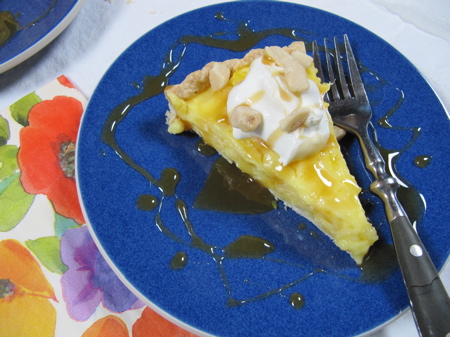
The kids had fun adding the whip cream and nuts, drizzling the caramel on the tart, and getting creative on the plate as well — just like the chefs in those fancy restaurants!
If you're looking for a little taste of the tropics as you wait for spring, this easy Pineapple Rum Tart might be just the thing to make you smile. I'd love to hear your comments. If you make the recipe, take a few seconds and rate it on the web site. I always love reading other bakers' comments when I'm considering a recipe.
Stop back in on Monday to read about Julie's Family Game Night and Taco Calzones.
Liz is paid to write for the Land O'Lakes Recipe Buzz™ Blog.
Share Your Thoughts
Did you find this article helpful? Has it inspired you? What else would you like to know?


