


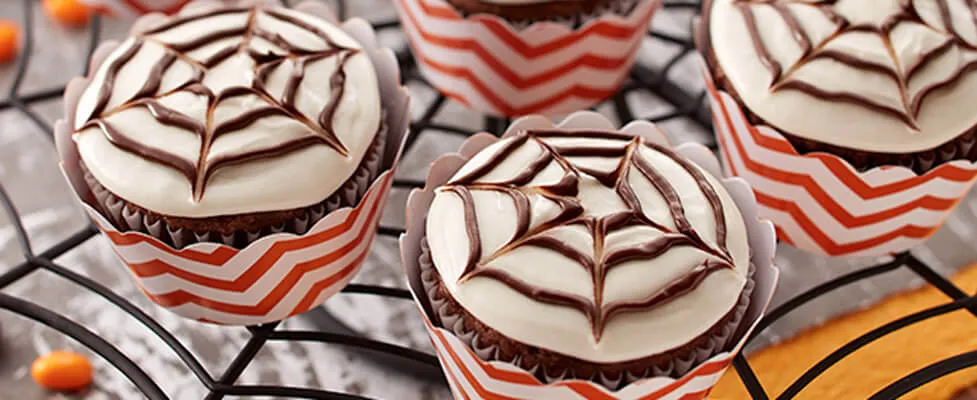
Head Start to Halloween with Spider Web Cupcakes
It’s that time of year again! PTO meetings, bake sales, back to school nights and --Halloween is right around the corner! We LOVE getting ready for Halloween just as much as the actual day! One tradition that our family has started is a Halloween drop- in before trick-or-treating.
SEE THE RECIPE
 by
Alexandra
by
Alexandra
by
Alexandra
It’s that time of year again! PTO meetings, bake sales, back to school nights and --Halloween is right around the corner! We LOVE getting ready for Halloween just as much as the actual day! One tradition that our family has started is a Halloween drop- in before trick-or-treating.
It’s a great way to gather friends in the neighborhood and whew - it helps us get better organized with "group supervising" the kids while they trick or treat! Everyone picks something to bring and I usually provide the dessert (like we need more sugar?) This year I chose Halloween Spider Web Cupcakes to make. Although I am usually the one to leave things to the last minute, I thought it would be a good idea to do a test run because I was nervous about doing the spider web design on top of the cupcakes. I am no "Ace of Cakes." Proud of my preparation efforts, but seriously, I over thought this one - these are INSANELY easy to make and decorate! I encourage you to bake these Spider Web Cupcakes. Her is how I made them.
First, heat the oven to 350° F. Place paper baking cups into muffin pan cups. This recipe makes 2 dozen.
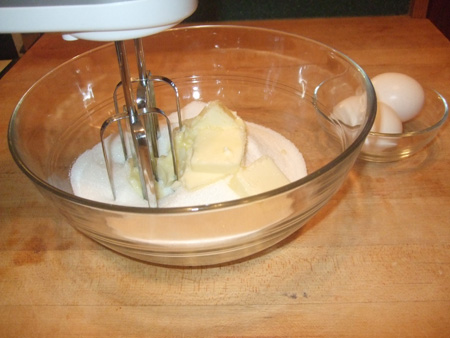
Combine sugar and 1/4 cup butter in a bowl and beat at medium speed, scraping the bowl often, until mixed.
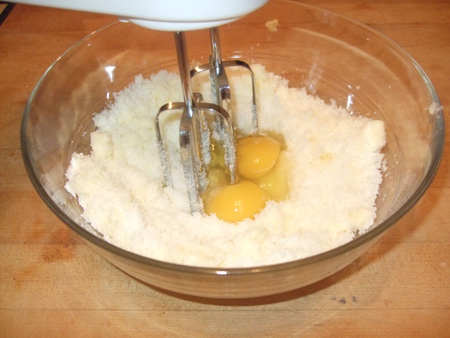
Add in 2 eggs, continue beating until creamy.
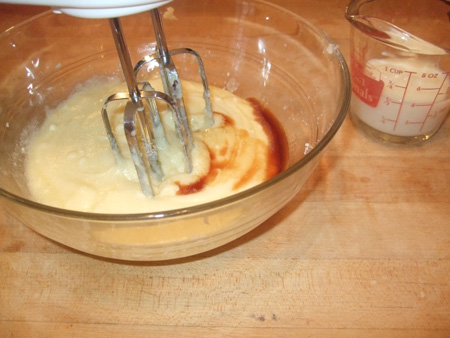
Add sour cream, milk and vanilla and continue until all the ingredients are mixed in.
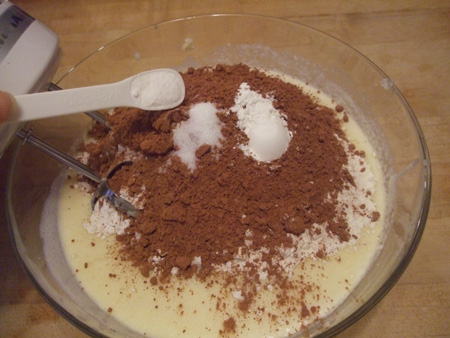
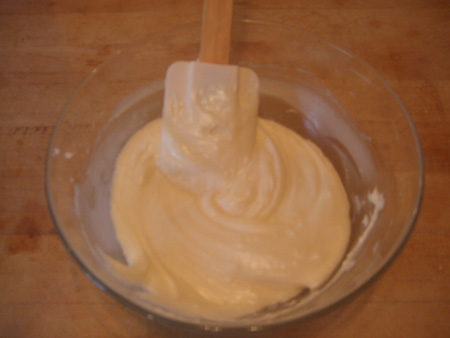
Reduce the mixing speed to low and add in the remaining cupcake ingredients – flour, cocoa, baking powder, baking soda and salt. Beat until well mixed. Even the batter smells great! The texture is rich and it has a great "fluffy" appearance. I am convinced you can’t get this texture from a box.

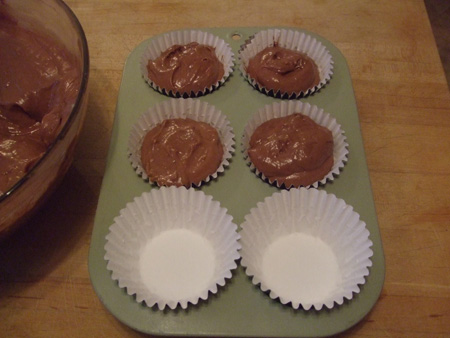
Fill each paper-lined muffin cup with about 2 tablespoons of batter. I wish I had one of those ice cream scoops they show on all the baking shows, but a regular spoon works just fine.
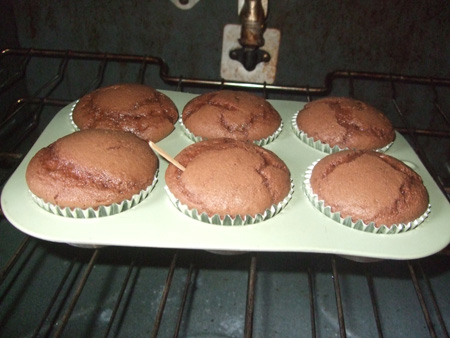
Bake for 20-25 minutes or until a toothpick inserted into the center comes out clean. The cupcakes then need to cool 15-30 minutes after baking.
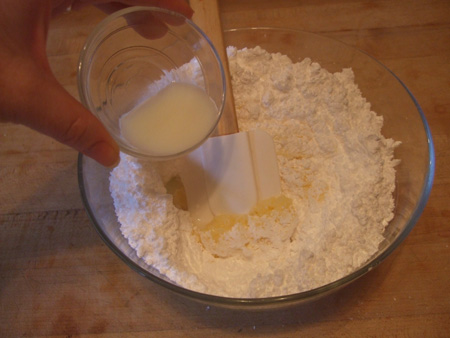
While the cupcakes are cooling - it’s the perfect opportunity to make the frosting! Combine the powdered sugar and softened 1/4 cup butter in small bowl. Beat at medium speed, scraping the bowl often and adding milk until the frosting is spreadable.
I chose to mix by hand as I usually have small helpers that delight on turning the mixer on High to see how far the dust cloud of ingredients will spread. Hand mixing was just as easy for me.
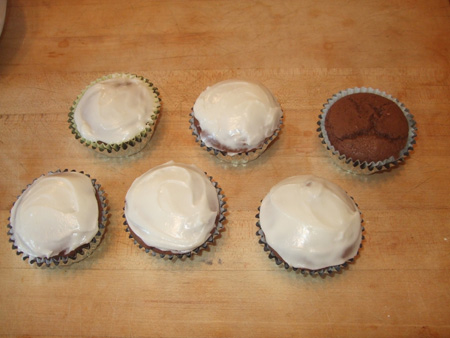
Once the cupcakes are completely cool, frost and decorate the cupcakes six at a time so the frosting does not set up and harden before the cupcakes are decorated.
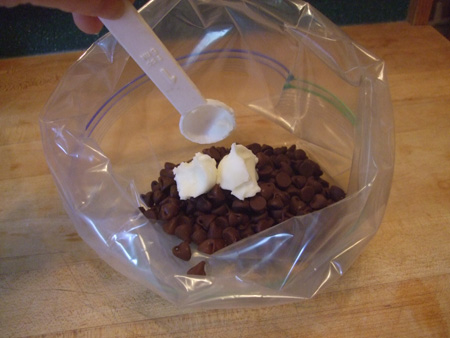
Next is the BEST part of this recipe and also it’s the easiest! To make the chocolate glaze, place chocolate chips and shortening in a heavy duty re-sealable plastic food bag.
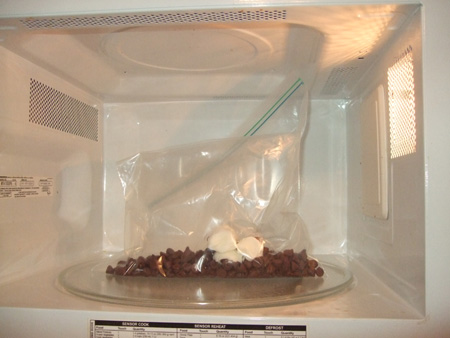
Microwave on High until the chocolate chips are melted. I usually microwave for 25 seconds, squish the bag around and microwave again until it is melted. The first time I thought for sure the plastic bag would melt and I would have some sort of epic explosion in the microwave - no worries, no problems as long as you follow the recipe instructions. Here’s the picture to prove it!
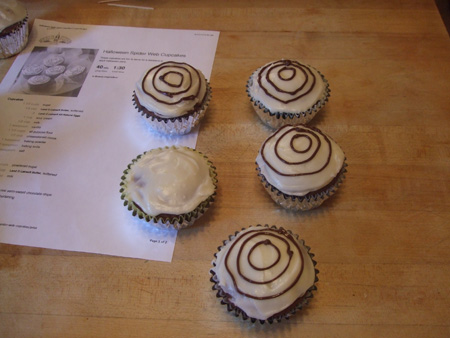
Immediately pipe the chocolate glaze onto three cupcakes- ready for it? Word of the day my friends... CONCENTRIC circles (ok, after I studied the picture, I was pretty sure it was just making 3 circles look like a bulls eye - but I looked it up just in case - it is!)
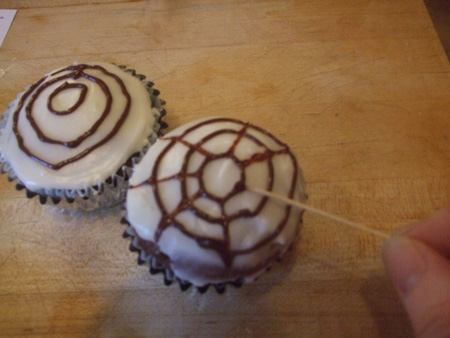
Here is the cool part - Starting at the cupcake center, take a toothpick and draw it through to the outer edge of the cupcake 5 to 6 times to create the spider web design. Repeat with the remaining cupcakes until all cupcakes are frosted and decorated. Let the cupcakes stand until chocolate is firm.
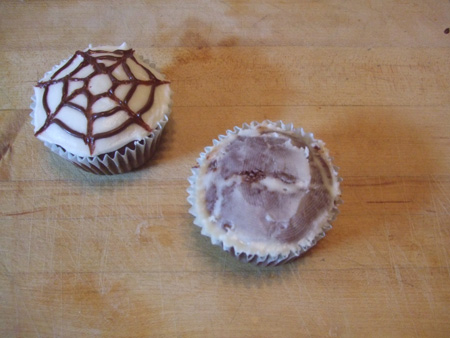
Don’t worry - if you mess up the spider web design, it’s a frosting "slate" - easy to clean up and try again. Scrape it off and re-frost. I found out I didn’t have the steadiest of hands.
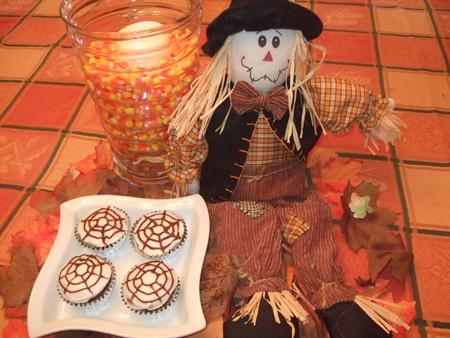
These were a HUGE hit at the PTO meeting this week and we can’t wait to make them again at Halloween!
I think I may have set the "I can bring..." bar a little too high for myself! Watch out - I will be making some other creepy concoctions for Halloween later on this month!
Do you have any favorite "go-to" Halloween recipes? Give these Halloween Spider Web Cupcakes a try, and make sure to come back and rate and review the recipe.
Come back in a few days when Liz will share a great recipe using pears.
Alex is paid to write for the Land O’Lakes Recipe Buzz® Blog.
Share Your Thoughts
Did you find this article helpful? Has it inspired you? What else would you like to know?
Ready to make the recipe? Let’s get started making Halloween Spider Web Cupcakes!
