Showcasing Bars
Making a pan of homemade bars is a great way to showcase your baking skills. And, since recipes can be adjusted to fit different sized pans, they’re perfect for almost any occasion.
 by
Land O'Lakes Test Kitchen
by
Land O'Lakes Test Kitchen
by
Land O'Lakes Test Kitchen

Making a pan of homemade bars is a great way to showcase your baking skills. And, since recipes can be adjusted to fit different sized pans, they’re perfect for almost any occasion. Plus, the preparation is generally quick and easy. Here are some clever tips that will help make your bars look more impressive.
Tip #1 – Before baking, line the baking pan with aluminum foil, extending foil 2 inches at each end. Bake and cool the bars in the foil-lined pan. Lift the cooled bars out of the pan onto a cutting board, using the foil extensions. Carefully remove the foil. Using a long knife, cut the bars into the desired number of pieces. Cutting the bars on a flat surface, without the sides of the pan to hamper the process, results in straighter, more uniform pieces. And because the foil keeps the batter from ever touching the pan, there is little to no cleanup—an great added bonus.
Tip #2 – If you’re having trouble cutting soft, sticky bars, spray the knife with nonstick cooking spray to make cutting easier.
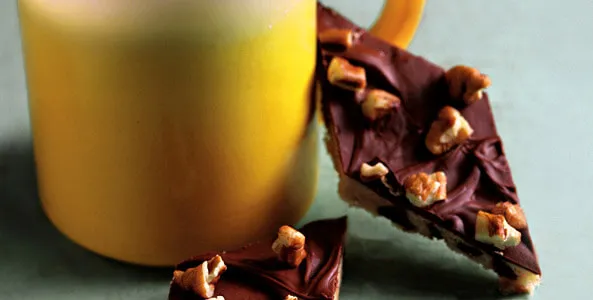
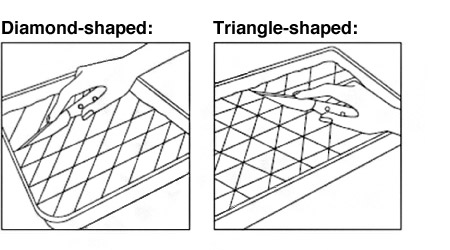
Tip #3 – Don’t be square. For a more fanciful presentation, cut bars into more creative shapes like diamonds and triangles. Follow the two examples below to see just how easy it is.
Share Your Thoughts
Did you find this article helpful? Has it inspired you? What else would you like to know?