An Array of Gingerbread People for the Holidays!
Making cookies at the holidays is one of my favorite memories as a child. It starts to feel like the holidays when we start to make cookies! As a mom, I couldn’t wait to make and decorate cookies with my own children - who happen to be boys. That’s where my Rockwell moment ends and reality begins.
 by
Alexandra
by
Alexandra
by
Alexandra
Making cookies at the holidays is one of my favorite memories as a child. It starts to feel like the holidays when we start to make cookies! As a mom, I couldn’t wait to make and decorate cookies with my own children - who happen to be boys. That’s where my Rockwell moment ends and reality begins. Let me explain - I have wonderful children - they are happy, healthy, fun and willing. They’re just...boys. So when we decided on ‘mission gingerbread‘ (because everything has to be named into a ‘mission‘ or ‘adventure‘ these days to make it cool) we located our cookie cutters to make Orange Spiced Gingerbread People. Then "the world of boy" took over. Out came the dinosaur and airplane cookie cutters. *Sigh*, it was too good to be true - we made more than gingerbread people for the holidays. But, the important part is that we were making cookies together!
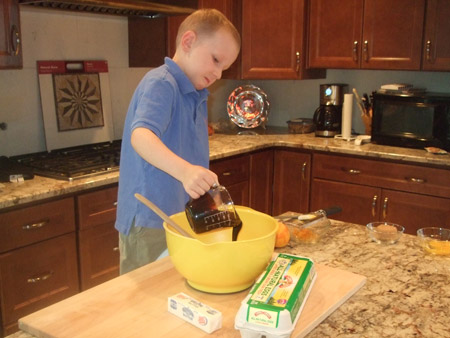
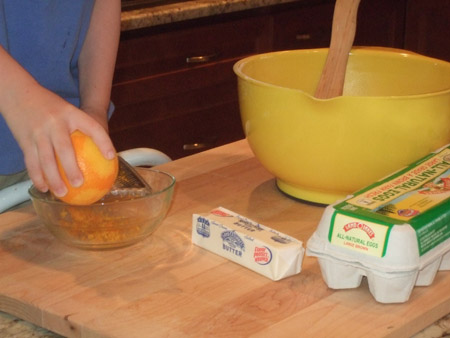
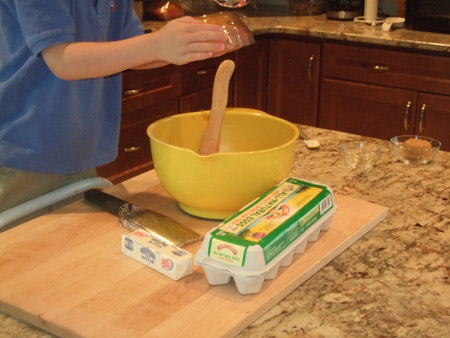
The first thing to know about gingerbread people is that there is a difference in the type of molasses you use. The regular or full strength molasses can be over-powering in the cookie - especially if you have kids. This recipe calls for 2/3 cup light molasses.
Add in 1/3 cup of firmly packed brown sugar.
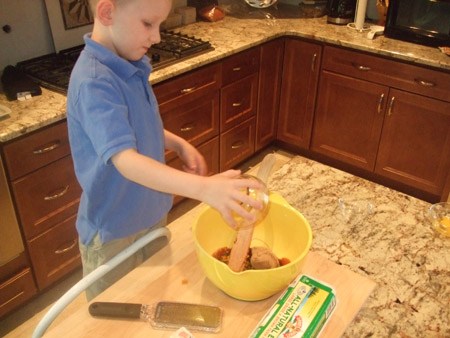
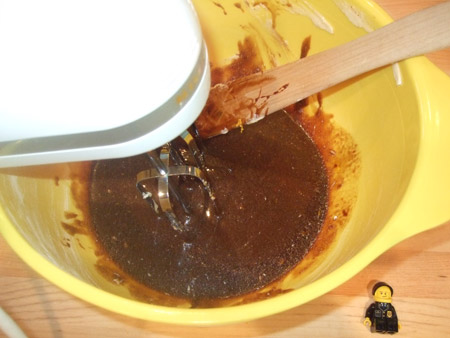
Then put 1/3 cup softened butter into the mix, and add an egg. Cracking and adding in the 1 egg is always the most fun part of cooking. In my words I say "gently tap the egg please." What they hear is "smash the egg so I can please fish out the egg shells."
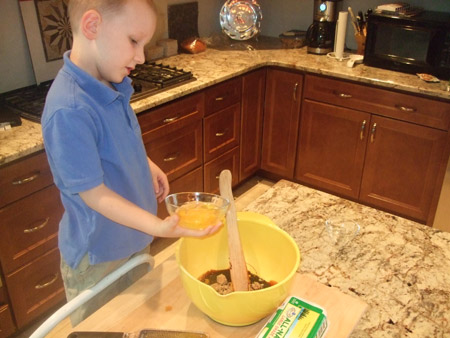
Next, grate an orange so you get 2 teaspoons orange peel. Then add it to the cookie mixture. The kitchen smells amazing with orange peel - but watch those fingers near the grater!
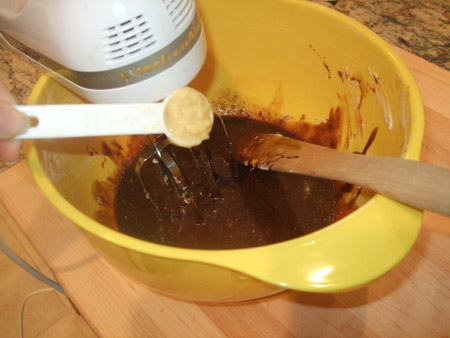
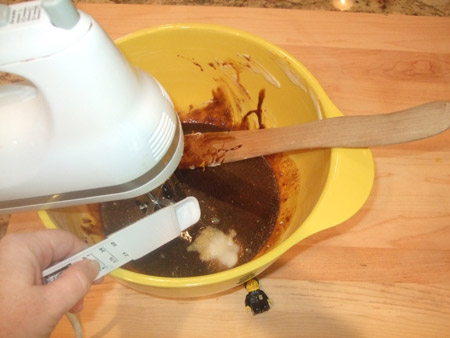
Use a mixer and beat the dough mixture at medium speed.
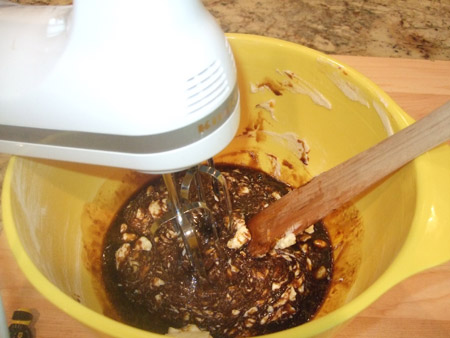
Your mixture should be smooth and creamy like this:
Next add in the remaining ingredients. First we added in the 2 3/4 cups all-purpose flour…
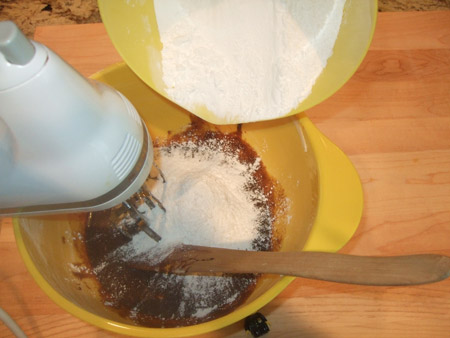
1 teaspoon ground ginger. It’s starting to feel and smell like holiday time!
The last additions are 1/2 teaspoon baking soda…
and 1/2 teaspoon salt.
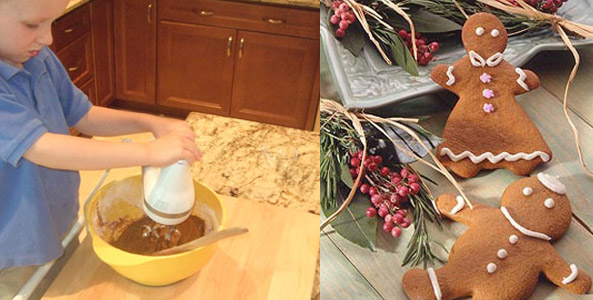
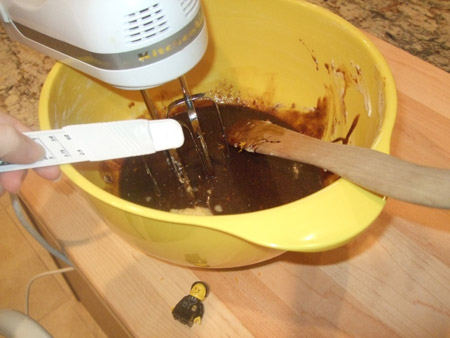
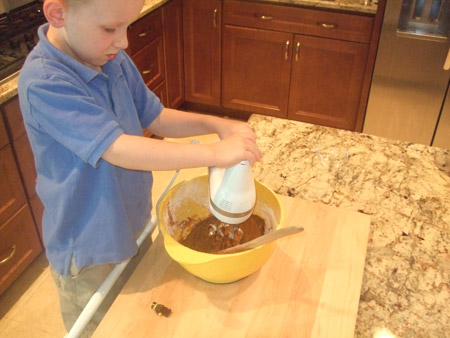
Finally Tyler helps by beating the mixture until it is well mixed.
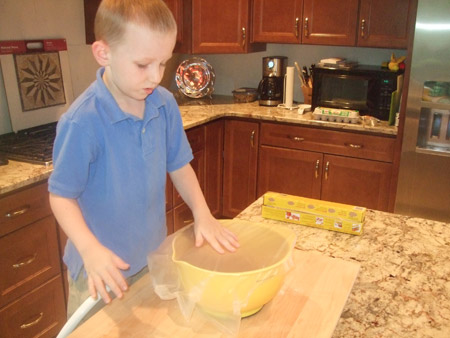
It is hard to wait but the next step is important. The dough needs to be refrigerated for at least 2 hours. So, cover the bowl and stick it into the refrigerator. This will help make sure that the dough is easier to work when rolling out the dough. For my not-so-patient boys, we decided to make the dough one night. Then the rolling, baking and decorating was saved for the next morning.
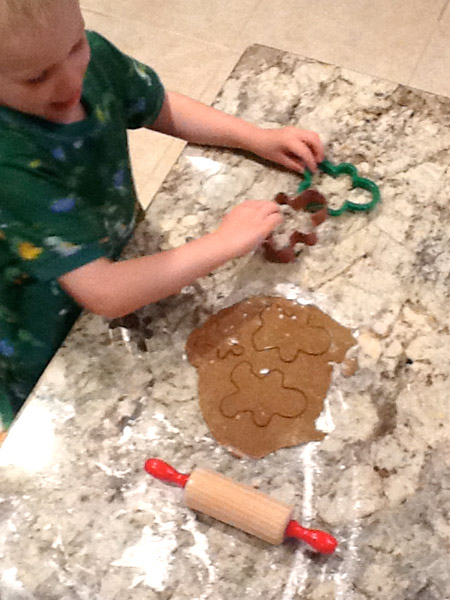
Let the making and decorating fun begin! Pre-heat the oven to 375°F. Remove small portions of the dough at a time. The recipe says 1/2 of the dough at a time. I did 1/4 due to the small hands and even smaller attention spans. Sprinkle flour on to the working surface. I found that a clean countertop makes a great prep area! I used WAY more flour on our surface than the recipe called for since the boys were rolling out the cookies themselves. It really helped to ensure that we were able to gently use a spatula to pick up the freshly cut gingerbread people. Roll dough to about ¼-inch thickness. Take the cookie cutters and press them firmly into the dough to make the shapes.
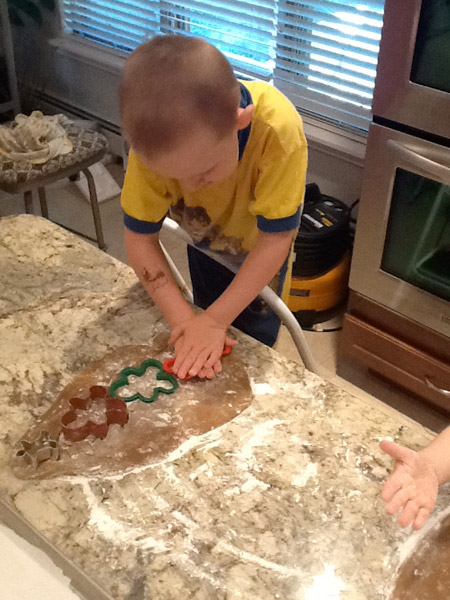
Remove the cutters and gently remove the dough around the shapes from the surface.
Place the cookie shapes 1 inch apart onto prepared cookie sheets. The recipe calls for greasing the pan. Because I had little helpers, I used parchment paper so I could take the entire sheet of cookies on and off the pan at once. This was a little trick I learned after attempting to let the boys help with the spatula, resulting in an unbaked broken cookie. Let’s just say that one of the boys was laughing hysterically and the other had an epic meltdown. My decision for working with my sanity, small kids and delicate cookies...parchment paper is much easier to work with!
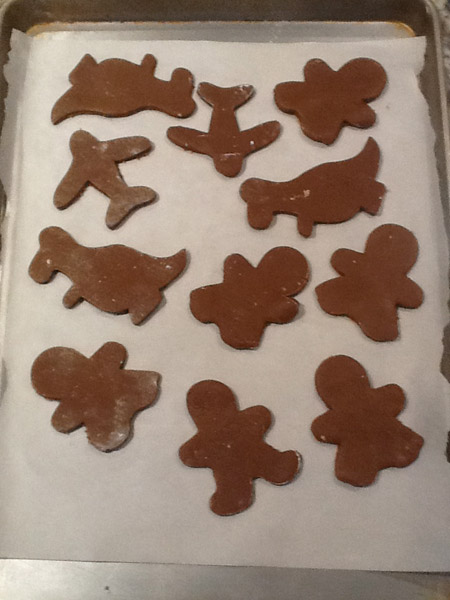
Slide the pan into the oven and bake for 6 to 8 minutes until no indentations remains when touched. Remove the cookie sheet from the oven and cool it completely.
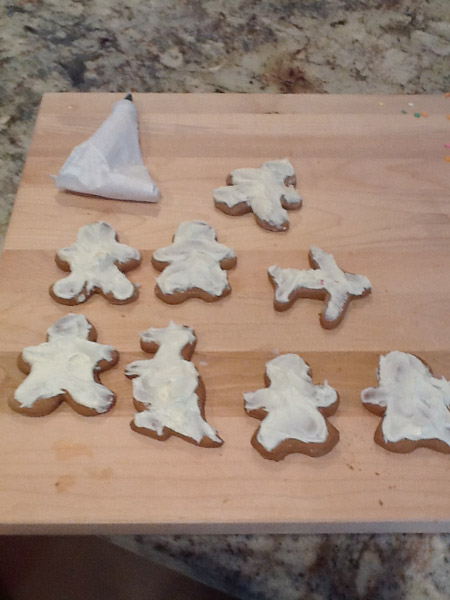
While the cookies cool, mix up the basic white frosting to spread onto the cookies. I mixed the powdered sugar, ½ cup butter, vanilla and enough milk until the frosting was the right consistency for me to spread onto the cookies. These were the "plain" cookies.
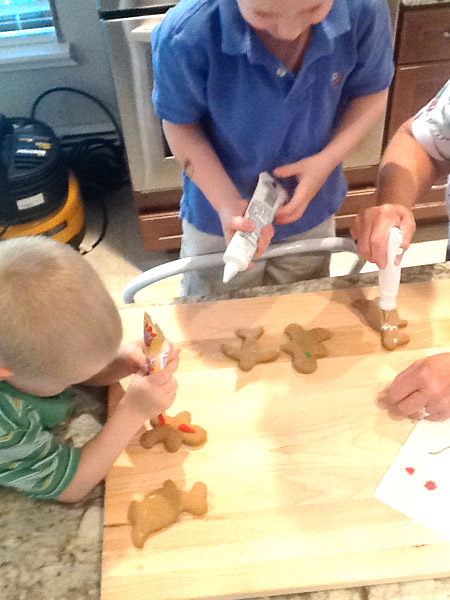
Due to the age of the boys (4 1/2 and 6 years old), excitement and time, I decided to use pre-made frostings for the actual decorating detail on the cookies.
Let the decorating begin!
For smaller hands and more delicate work, these pre-made frosting tubes were extremely helpful for them to be able to hold and easily squeeze. The frosting bags that we tried were a little too squishy and unstable for them to successfully control the decorations. With older kids or adults, I am sure the frosting bags would be fine.
Here the gingerbread people are all frosted ‘plain.’ Do you know which cookies were eaten first? The plain frosted ones! Who knew?
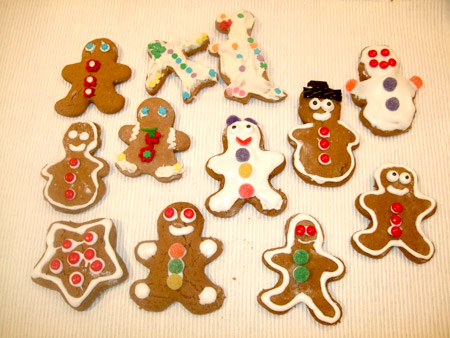
Our army of gingerbread people ready for action!
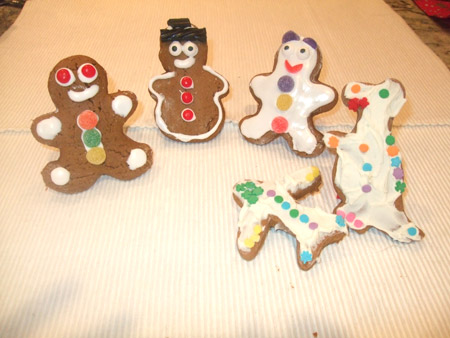
Well...here they are propped up and ‘in scene.’ The request for a gingerbread castle has been made and pleasantly ignored, I mean re-directed! We’re saving that request for when Grandma comes to town!
As much as I kid about having boys, I absolutely treasure these times in the kitchen with them. Their enthusiasm for cooking and baking, in ways that I would never think of, makes for a creative afternoon of entertainment. Give these Orange Spiced Gingerbread People a try - it’s a great recipe that is fun to make and share. I guarantee that it will make for a fun holiday memory for your family. Happy Holidays!
Check back in a few days when Tami will share a fun, new way to eat breakfast- on a pizza.
Alex is paid to write for the Land O’Lakes Recipe Buzz® Blog.
Share Your Thoughts
Did you find this article helpful? Has it inspired you? What else would you like to know?