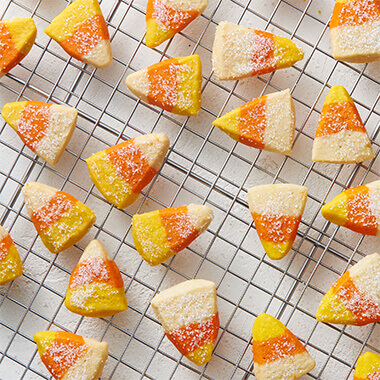

Sparkling Candy Corn Cookies
Candy corn is a “must have” around Halloween time. These tasty cookies are inspired by the candy but arguably much more tasty!
SEE THE RECIPE
 by
Land O'Lakes Test Kitchen
by
Land O'Lakes Test Kitchen
by
Land O'Lakes Test Kitchen
Sparkling Candy Corn Cookies marry the fall seasonal favorite, candy corn, with all the fun Halloween brings. They may look a little complicated to make but, are really quite easy. A few photos really help simplify the steps. I have never heard so many “those are so cute” and “what a great idea” comments with any recipe as I heard about this one. They are great for Halloween parties, any fall gathering or for tucking in a lunch box as a special treat. So, have some fun and give these treats a try.
How to Make the Cookies
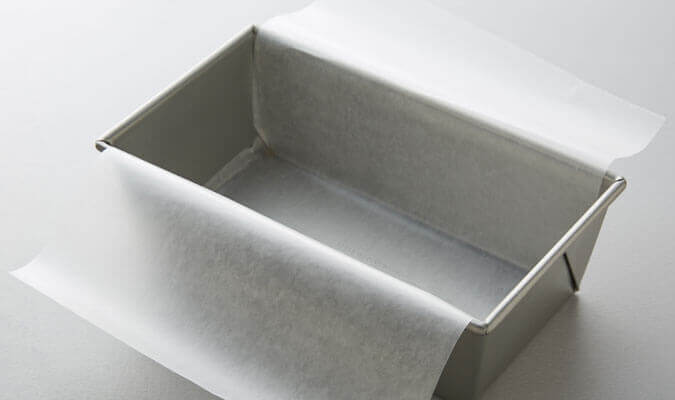
The first step is to line the bottom and sides of a 9x5-inch loaf pan with waxed paper or plastic food wrap. Then set the prepared pan aside and mix together the sugar cookie dough.
Once the dough is prepared it’s time to add the food coloring. First divide the dough into three equal parts. Leave one third plain, color one-third orange and the remaining third yellow.

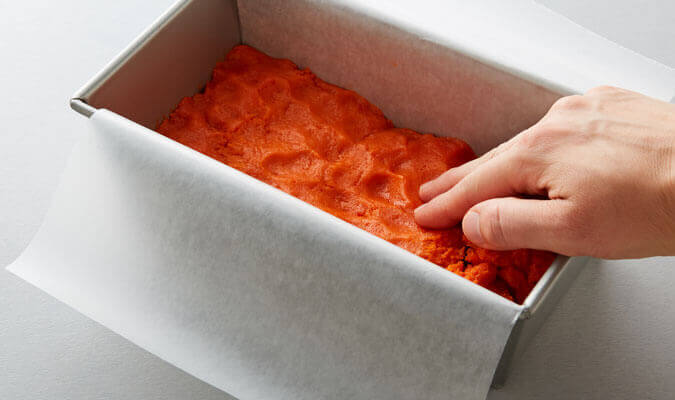
Be sure to wash your hands and then press the plain third of dough into the bottom of the pan lined with waxed paper.
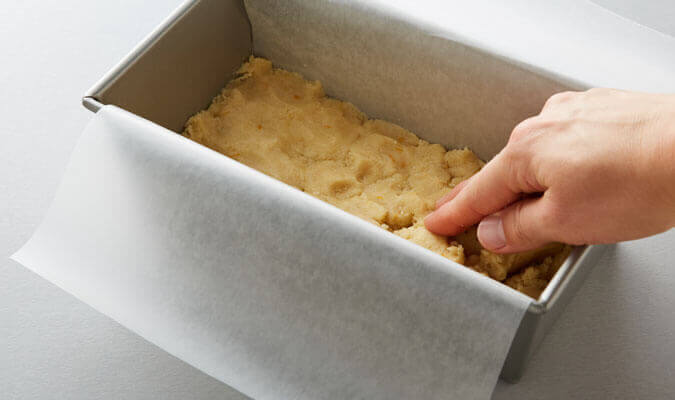
Press the dough evenly to cover the entire bottom of the pan. Press the orange dough evenly over the white dough already in the pan.
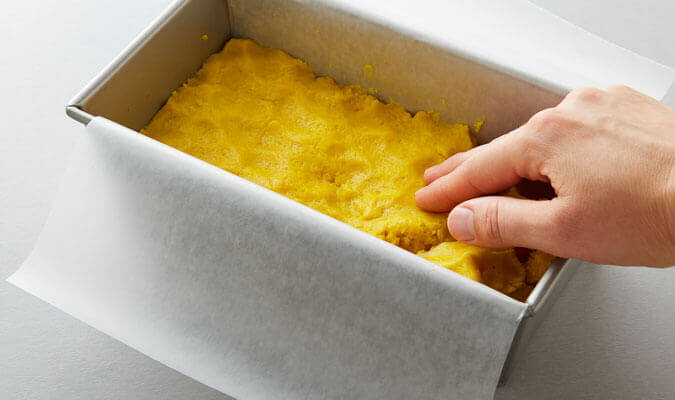
Press the yellow dough on top of the orange dough in the pan. Make sure each layer covers the previous dough in an even layer.
Cover with plastic food wrap and refrigerate until firm (at least two hours). You can make the dough and refrigerate up to 2 days before slicing and baking. When you are ready to bake the cookies, heat the oven to 375°F. Place 1/2 cup sugar in a large bowl. On a cleaning cutting surface, invert the loaf pan to remove the dough. Remove the pan. Remove the waxed paper. Just look at those beautiful layers!

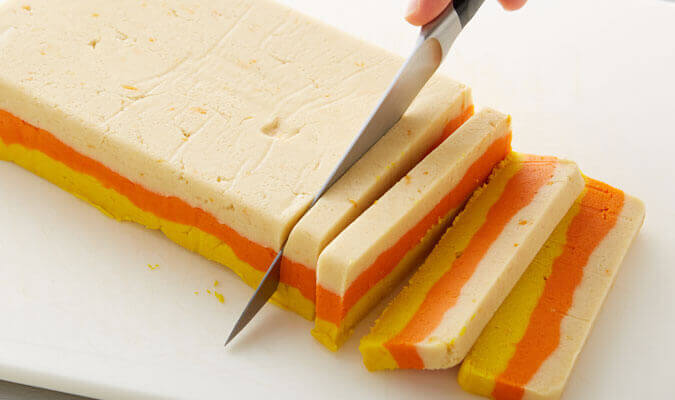
Using a sharp knife, cut the dough “loaf” crosswise into 1/4-inch slices. Trim the edges to make slices even, if necessary. If you are a perfectionist you will want to trim; if you are okay with some not-so-perfect triangles, don’t worry about it.
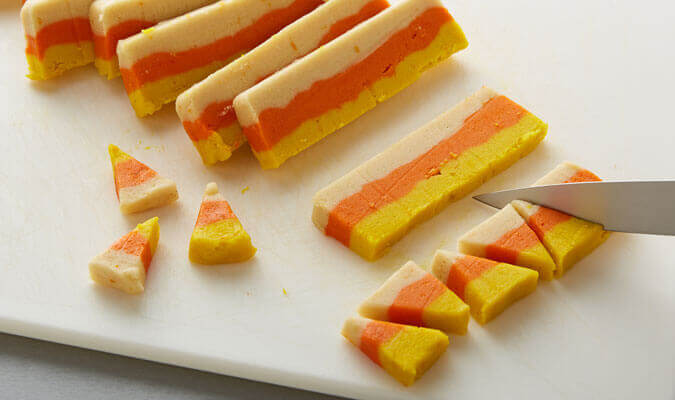
Cut each slice into 6 wedges. Now you can see the “candy corn.”
Place the cookies 1-inch apart on ungreased cookie sheets. Bake for 7 to 10 minutes or until the edges are firm and the bottoms are very lightly browned. Cool 1 minute. Remove the cookies from the cookie sheet and immediately place the warm cookies in the bowl of sugar. Roll the cookies in the sugar to coat.
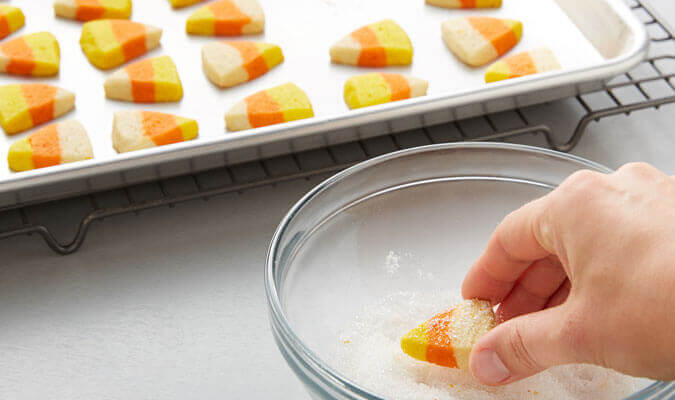
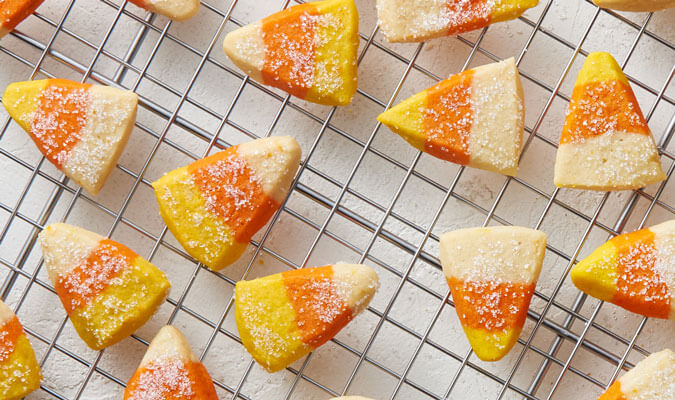
Place the sugar-coated cookies on a cooling rack and let them cool completely. We store them in a loosely covered container so the sugar coating stays nice and doesn't "melt" from the moisture in a tightly closed container.
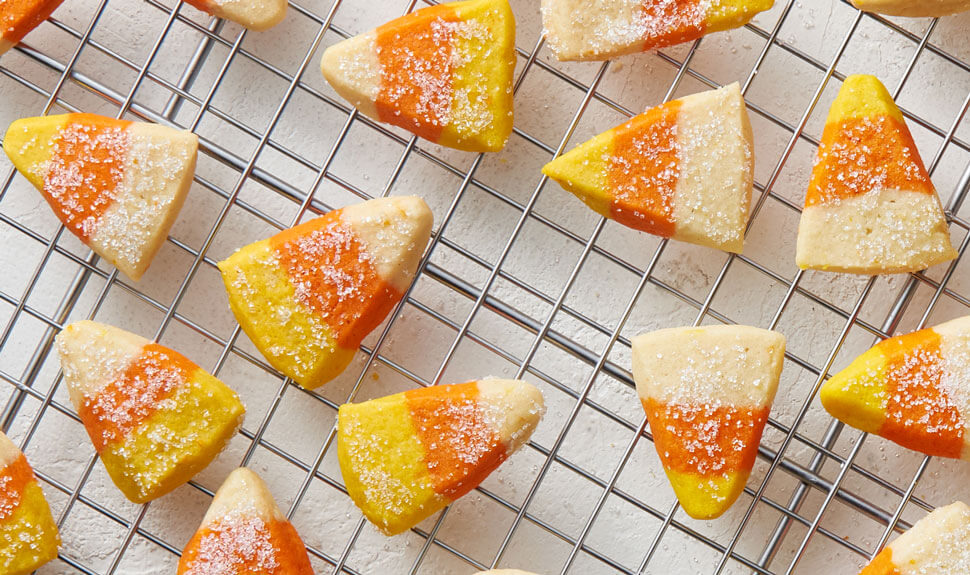
See, we told you these were easy to make with the help of a few key photos! These cookies are adorable and have a wonderful buttery flavor with just the right hint of orange.
Tell us what you think!
Don’t forget to rate and review the Sparkling Candy Corn Cookies recipe and tag your creation on Instagram with @landolakesktchn! We created a gluten-free version of these cookies as well! Check out some of our other Sweet Treats for more Halloween fun!
Share Your Thoughts
Did you find this article helpful? Has it inspired you? What else would you like to know?
Ready to make the recipe? Let’s get started making Sparkling Candy Corn Cookies!