Yeast Breads: Method
A few months ago I wrote about the 4 main ingredients in bread – flour, water, yeast, and salt – and how they make bread. But with a quick glance at any yeast bread recipe, it is clear that ingredients are only part of the story. Kneading, proofing, punching – what does it all mean? So here I am with the second installment on making yeast breads – method.
 by
Amber
by
Amber
by
Amber
A few months ago I wrote a blog post about the 4 main ingredients in bread – flour, water, yeast, and salt – and how they make bread. But with a quick glance at any yeast bread recipe, it is clear that ingredients are only part of the story. Kneading, proofing, punching – what does it all mean? So here I am with the second installment on making yeast breads – method.
Kneading
Kneading can be done in a variety of ways – using a stand mixer or food processor, or by hand. Some even argue that time and yeast will take care of the kneading process for you (the basis of the no-knead bread). The purpose of kneading is to work the gluten into a strong network that will help maintain the structure of the bread through the baking process.
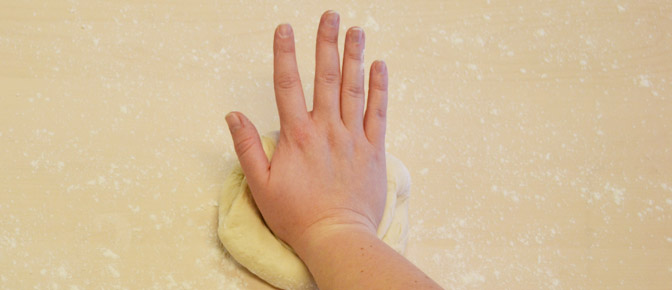
Kneading by hand will take a little longer than the mechanical methods but it is very effective (and a good workout). Start by placing the dough on a lightly-floured surface. Fold it over on itself toward you and use the heel of your hand to push it back away. Give it a quarter turn and repeat and repeat and repeat…until the dough looks smooth. Other indicators that your dough is thoroughly kneaded are:
- Poke Test – Push a finger into the dough, if the indentation fills in quickly it is ready to go.
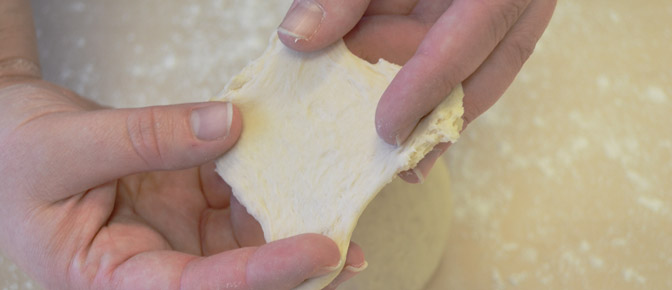
- Window pane Test – Stretch a small amount of dough it between your fingers, if the dough can be pulled into a thin, nearly see-through sheet without breaking it is ready.
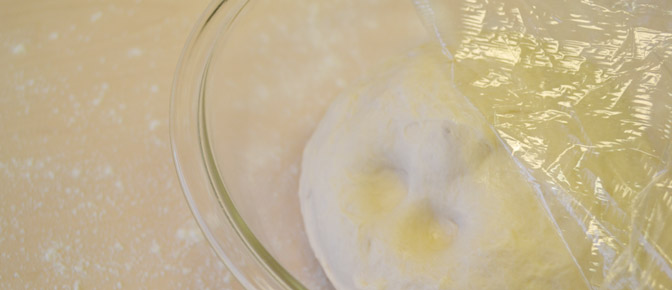
Rising (aka Fermenting or Proofing)
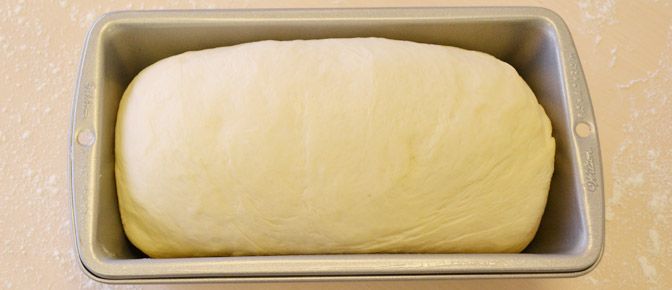
The next step is to place the bread into a greased container, cover and let rise – pretty straightforward. Grease the container so the dough doesn’t stick, and cover it so it doesn’t dry out. But what exactly is happening during this process?
During the hour or so it takes for the dough to double in size the gluten is relaxing. This makes it easier to shape it later. Remember how quickly it sprang back when kneading? That “spring” doesn’t help you very much if you want the bread have a certain shape.
Also the yeast is multiplying and, in the process, creating carbon dioxide. The gas gets trapped in the gluten structure – so perfectly formed from all that kneading – and makes the dough grow in size. The dough is done rising when it is about double in size and this time, if you press a finger into the dough, the indentation will remain.
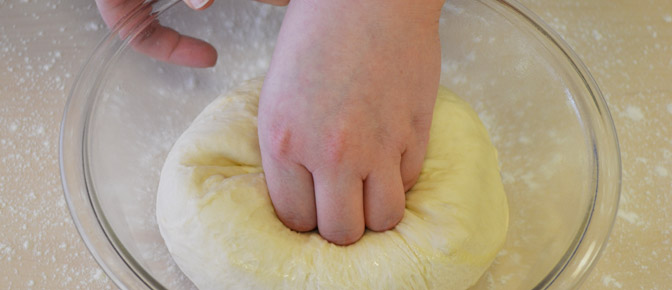
Punching Down
Who knew making bread would take a violent turn? The process of punching down the dough need not be as aggressive as it sounds. It is simply pressing the dough back down to release some air, even out the temperature (it gets warm in the middle with all that yeast multiplying), and redistribute the yeast cells. This step is important because if dough over proofs the trapped gas can tear right through the gluten structure you worked so hard to create.
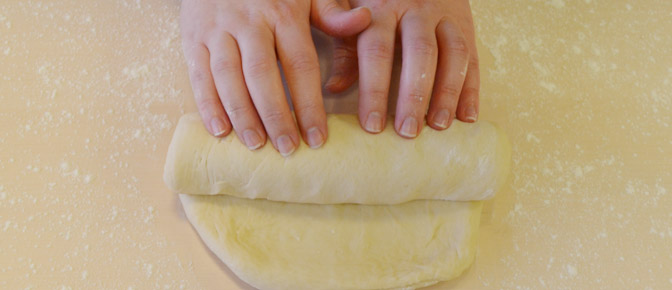
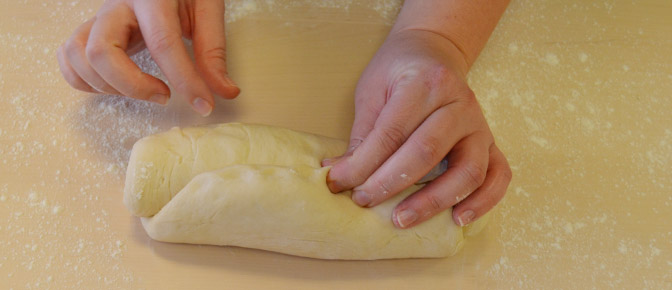
Shaping
Once the dough is punched down it can be shaped. There are a number of different ways to shape dough, whether it is into rolls, in a loaf pan or on a baking sheet.
Second Rising
The second rise generally takes about half the amount of time as the first – remember there is more yeast in the dough working now! This rise helps give the bread the right texture – not too dense. At the end of this stage you can also embellish your loaf – slash it with a knife, brush it with melted butter or egg wash, sprinkle it with seeds.
Baking
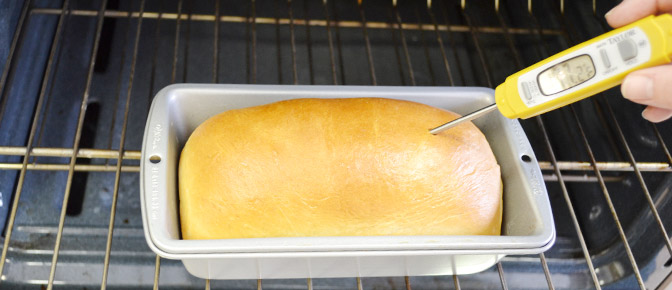
Finally it's time to get it in the oven! The first 10 minutes or so of the baking process the bread will rapidly expand – often referred to as oven spring. This is the last hurrah for the yeast before the temperature rises to the point of its demise. During the baking process, the heat of the oven will also form a nice crust on the outside of the bread. How do you know when the bread is done? The old adage is to tap the loaf on the bottom; if it sounds hollow it is done. That is a little subjective for my taste. I think the easiest way to see if bread is done is with an instant read thermometer. Insert the thermometer into the middle and look for a temperature between 190 and 200 degrees. Not quite there? Give it a few more minutes.
It’s important to remember to let bread cool a bit before eating it to even out the temperature and let the final structure set up (much like resting meat before cutting into it). Personally, I find waiting for the bread to cool a bit before cutting into to be the most difficult part of this entire process!
Share Your Thoughts
Did you find this article helpful? Has it inspired you? What else would you like to know?